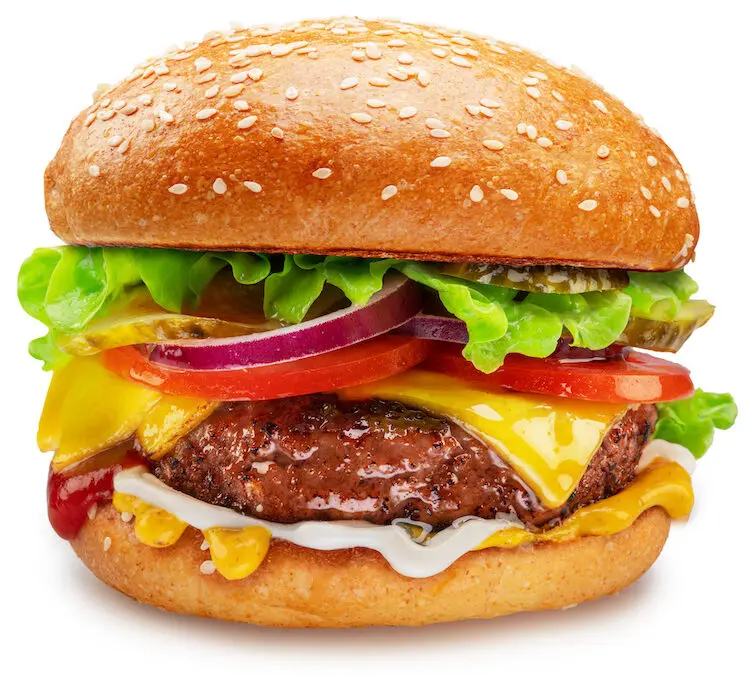
It’s Mid-November, and one thing is pretty much on everyone’s mind right about now.
Thanksgiving.
And one bird is on the very top of everyone’s grocery list.
The turkey.
Nothing new here, but THIS year, Cattleman’s would like to help you make this year’s Thanksgiving dinner the BEST ever.
We’ve got some ground to cover so let’s get right to it.
We’ll start with the “BIG” bird itself because let’s face it, it’s the center dinner table attraction, and for many, the only day of the year most of us actually enjoy a “real”, roasted turkey.

And from a cooking perspective, unless you do something often, (like roasting a big turkey), it’s hard to get good at it.
But the Pro’s do, and that’s the best place to go for expert help.
It all starts with buying the turkey, and at Cattleman’s, there are LOTS of options.
You could spend an hour trying to read, understand and finally decide on what turkey to buy, so we’ll try and simplify some of the language for you.
A Fresh Turkey means the bird has been kept at 26 degrees or above It may seem firm and icy but technically, it is still a fresh turkey.
Frozen means it has been held at o degrees or below and will be frozen solid.
“Natural” means the turkey has not been injected with artificial moistening or flavoring agents.
Free Range means the bird has had access to the out of doors.
Organic means it’s fed an organic diet and free of antibiotics.
Kosher (beyond its religious processing) means the turkey is always brined (soaked in water and salt), which, as a result, can help make it more moist.
All of these are terms are helpful, and as a Kosher turkey (by definition) is expected to also be “free range”, “with a grain diet” and given no antibiotics”, this, with the addition of it being brined seems to check all the boxes.
It does however, mean that doing a second brining at home, is a salt over load and should be avoided.
Bottom line, if you can buy a fresh turkey and brine it yourself, it is probably your best choice. And Cattleman’s has a NEW Brine Pouch for you to use this year which we think you’ll love.
If you’re buying a fresh turkey, buy it a day or two before roasting it, and keep it in the coldest part of your refrigerator until then.
Thawing a frozen turkey.
A frozen turkey should be kept frozen until you are ready to defrost it. Submerge your frozen turkey (leave it in its wrapper), in a sink of cold water. Change the water often so that it remains cold. Figure about 30 minutes of underwater time per pound (about 10 to 12 hours for a 20 lb. turkey).
You can also defrost your turkey in the refrigerator. Estimate about 24 hours for every 5 lbs. or about 4 days for a 20 lb. turkey.
Brining.
We, as well as most ALL professional Chefs, recommend brining your turkey before you roast it. The benefits are many and it’s really worthwhile. We’ve written a separate article on brining and you can read it HERE.
Prepping your bird.
Regardless of whether you brine your turkey or not, be sure to thoroughly rinse it in cold water (inside and out), then, pat it dry.
The two most popular are seasoning methods are either applied to the surface of the turkey, or, under the skin, which could be called “self-basting”.
For a traditional “on the top of skin” seasoning, brush the exterior of the turkey with melted butter, then add sprinkle a seasoning mixture of paprika, garlic powder, poultry seasoning and ground black pepper.
Avoid adding salt in your seasoning mix if your turkey has already been brined with a salt solution.
For a self-basting turkey, prepare a softened butter mixture using unsalted butter and then use same seasoning mixture mixed in with the butter.
The easiest way to add the butter, is to loosen the skin from the meat by working your hand from the neck cavity across the breast and over the thigh. Use your hands to rub the softened butter mixture under the skin and over the meat.
Once coated, you may still want to rub a little of the mixture over the skin to protect the skin and help it to color nicely.
What about stuffing my turkey. Is it good or bad.
If you want the most flavorful, juicy turkey breast, the short answer is… bad.
Sorry.
Why?
Turkeys, like most meats, are composed primarily of water.
Generally, between 60% an 75%.
As a result, when you roast a stuffed turkey, you’ve got 3 things working against you if your goal is a flavorful, juicy turkey breast.
1). Hot air (your oven) tends to dry the bird as it cooks. You just can’t avoid that.
2). Gravity wins. The juices from the breast go downward into the stuffing or to the bottom of the roasting pan.
3). Your stuffing acts like a sponge and soaks up those juices.
Great tasting stuffing, dry turkey.
So, here’s what we suggest.
Instead of placing your stuffing in the turkey, place it in a buttered casserole dish and bake it separately.

Homemade Thanksgiving Stuffing Made with Bread and Herbs
And, instead of the bread stuffing, stuff your turkey with a mixture of chopped onions, carrots and celery, tossed with a bit of thyme, sage and or poultry seasoning.
This will flavor both your meat and your eventual gravy, and won’t be that sponge that sucks those great juices from your turkey meat.
The Roasting Basics.


- If possible, use a roasting pan with a v-shaped roasting rack, that will keep your turkey off the bottom of the pan. Allowing you turkey to roast while sitting in cups of juices is only leaching out the great flavor from the lower part of the turkey and turning it into turkey soup. It’s also creating steam and stem isn’t helping the turkey to brown.
- Roast at about 325 degrees. And yes, it’s still (generally) about 12 to 15 minutes per pound that your turkey will need to roast. But don’t rely on it anymore that those plastic thermometers that you’ll often see inserted in most turkeys. Chef’s NEVER go by them, (they usually have you overcooking your bird).
- Instead of relying on those plastic thermometers, spend $10 bucks in a decent insta-read thermometer, or, a digital one. Considering what you spent for your turkey, and the time you’ve spent on this important meal, it’s the best investment you can make.


- Basting is ok, but there two things to consider. 1). It’s not going to make your turkey breast more moist that washing the outside of your car is going to make the inside of your car wet. (Unless you forget to roll up the windows)… 2). Every time you open the oven door, you’re adding extra cooking time and, if you have an electric oven, it’s quite possible that it will over brown and dry out the breast over time, requiring you to tent it, which creates steam.. and well, roasting is what we’re trying to do here. Basting, however, can give you a nicer, more evenly browned skin (if) your oven’s reheating cycle isn’t too harsh.
- About two thirds of the way through the roasting time (or about when a reliable insta-read thermometer inserted in the pocket between the thigh and breast meat reads about 125 F). Turn the turkey breast side down. This will make gravity work in your favor as the juices that have been steadily been going downward from the breast to the bottom of the bird, will now migrate BACK into the breast.
When is my turkey done?
When the thermometer inserted it into the “pocket” between the breast and the thigh reads 165 degrees. You’re good to go. However, be careful not to insert the thermometer next to the thigh bone (which will give you a slightly higher temperature reading).
When you’ve achieved 165 degrees, remove the turkey from the oven, turn the turkey back to breast side up and allow it to rest at least 15 minutes for all the juices to equally distribute throughout the meat. You may even see the temperature creep up a few more degrees. That’s what Chef’s call “carry over cooking”.
And that’s all good.
Of course, the next step is to remove your turkey from the roasting pan onto a serving platter and make your gravy.
For that, we recommend that you first skim off any excess fat, then add a cup or two of turkey broth to what remains of the turkey juices and the brown particles that remain on the bottom of the pan.
Place the entire pan on a medium low burner and bring to a simmer while whisking to dissolve all that caramelized turkey goodness.
Before you thicken it with a bit of cornstarch mixed with a little COLD water, you might take this time to ladle a bit of these juices over your stuffing, which, will give you some of the turkey flavor it would otherwise have had, had you have stuffed it in your bird BEFORE roasting.

Now, you’re welcome to stuff the cavity of your beautifully roasted turkey with your cooked stuffing before placing it on a presentation platter.
Your secret is safe with us.