At some time, in the past, you probably were wondering just how to make a pumpkin pie from a real, fresh, honest to goodness pumpkin.
Well, this year, we’re going to do it together.
And, here’s the good news.
It’s not that hard.
But, the thought “hard”, is probably why you may have put this off for so long.
So, bother, you might ask yourself, especially when you can buy canned pumpkin purée so easily?
The simple response is…
Why cook fresh sweet corn on the cob when you can buy canned corn, or buy any fresh fruits or vegetables, when you can buy the canned alternatives?
I think you know the answer.
Fresh, just tastes better.
And in the case of pumpkin, fresh pumpkin puree it’s sweeter, richer, and has a wonderful color and aroma.
But forget all that, making a pumpkin pie from fresh cooked pumpkin, is just SO rewarding.
A culinary “bucket list” kinda thing.
This blog is more about creating the pumpkin puree part of the recipe more than it is the rest of the ingredients, which include the sugar, eggs, cream and spices.
In fact, in this writer’s opinion, only about 50% of a pumpkin pie filling comes from the flavor of the actual pumpkin itself.
The other half comes from the flavor and richness of the cream custard (eggs and evaporated milk or cream), and even more so from the cinnamon, ginger (if used), the vanilla, and. of course, the sugar.
And don’t be fooled by the color of fresh pumpkin puree.
Different hybrids of pie pumpkins have slightly different shades of oranges…
Libby’s, for instance, uses a proprietary strain of Dickinson squash.
While legally considered a type of pumpkin, Dickinson squash has a distinct advantage over standard field pumpkins for pie making. It’s denser and slightly sweeter, which is somewhat a moot point as you can add whatever sugar you want in your own pie filling recipe.
Libby’s pumpkin pie filling recipe is most everyone’s “gold standard”, and the truth is, that while you can switch out light brown sugar for the white, use heavy cream instead of evaporated milk, add an extra egg for more firmness, or “tweak” the spices, at the end of the day, the Libby version is in the “Goldie Locks” zone for what most people (in America) prefer.
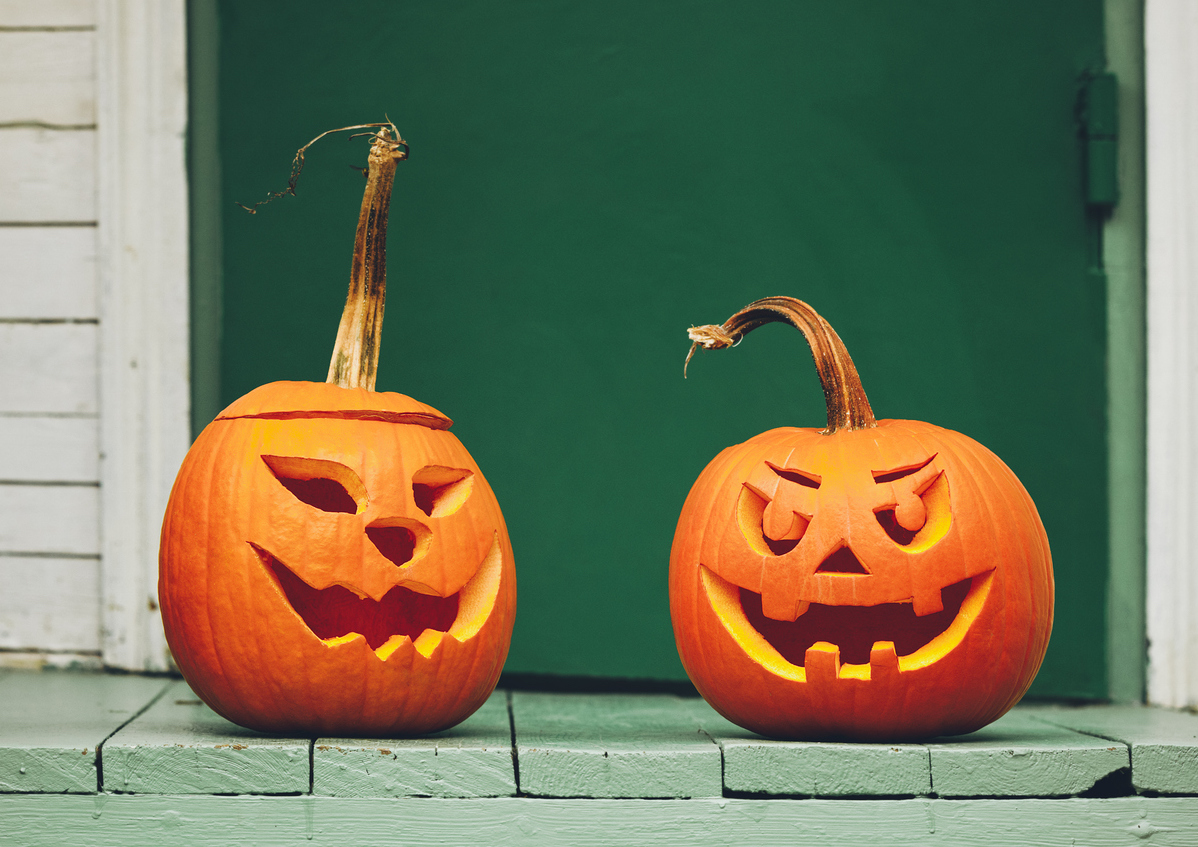
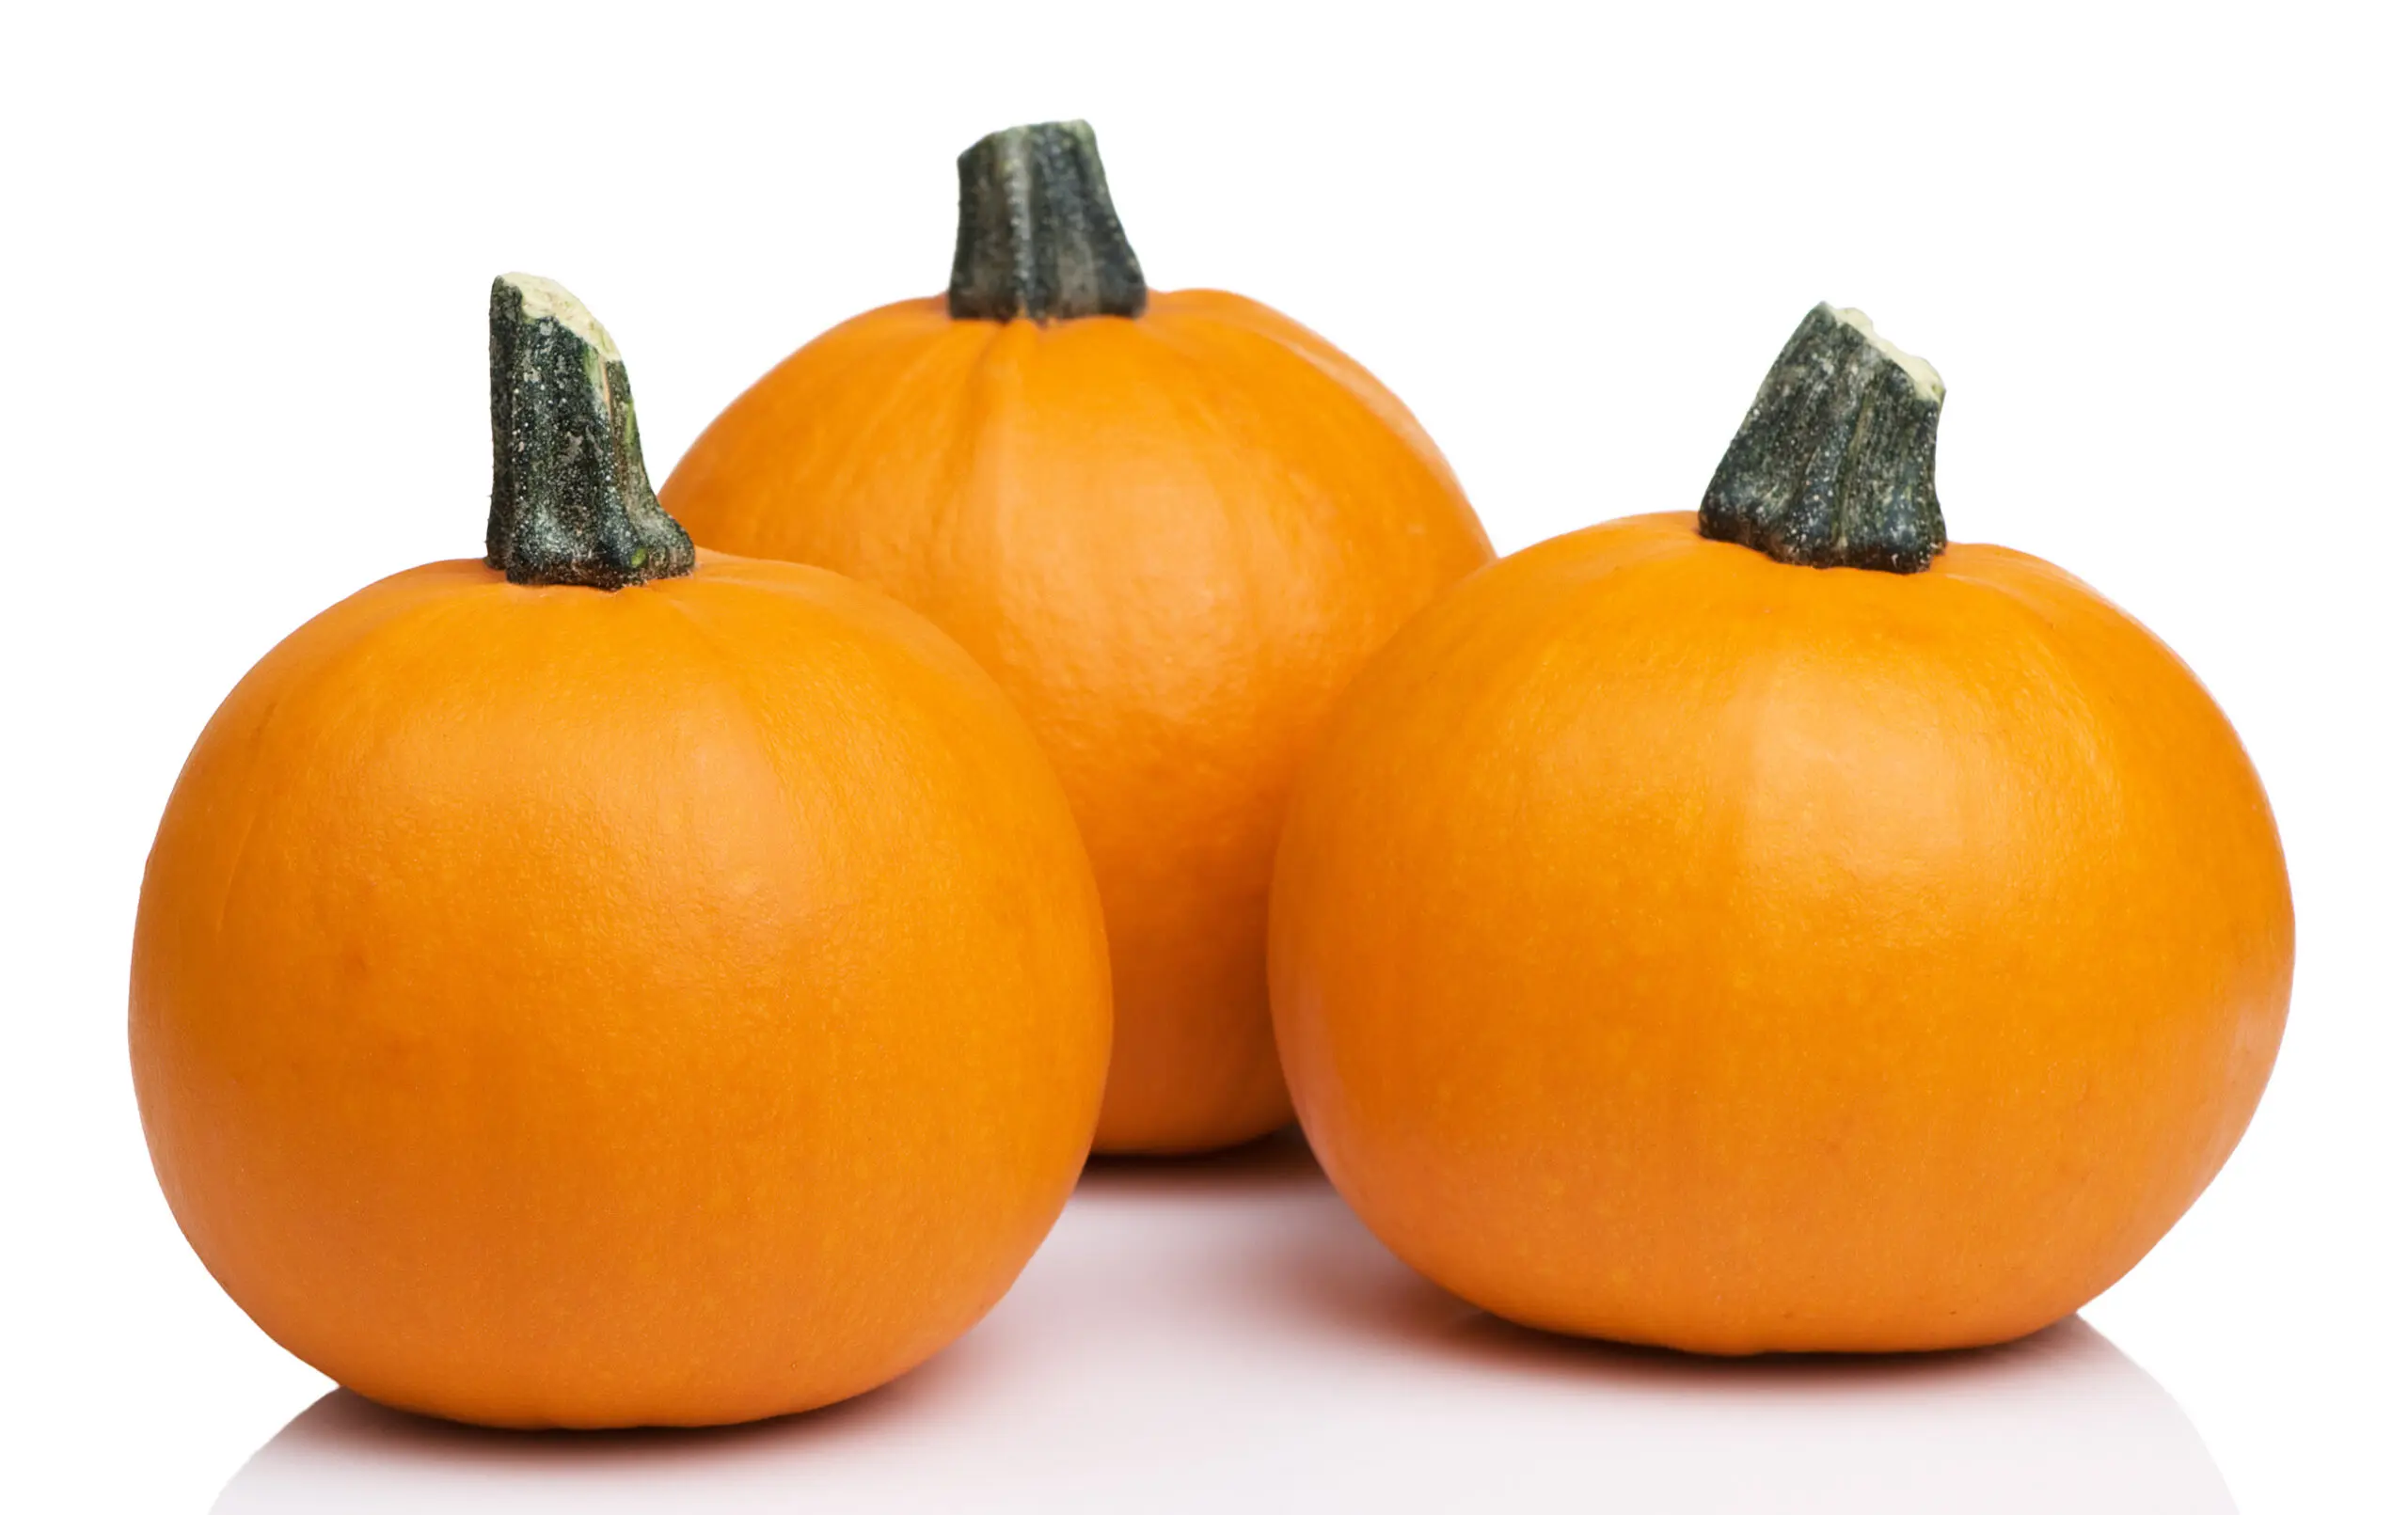
To begin, perhaps the most important thing, is to use the right pumpkin. Not the large “Jack-O-Lantern” type you buy to carve with your kids, but the smaller, much sweeter, denser and more flavorful, Pie Pumpkins.
NO
YES
Pie Pumpkins can be called many things at your grocery store or produce market, including:
- Baby Bear
- Cinderella
- Dickinson
- Early Sweet Sugar Pie
- Galeux d’Eysines
- Jarrahdale
- Musquee de Provence
- Orange Smoothie
- Small Sugar
- Spookie
- Triple Treat
All of these varietals have one thing in common.
They are hybrids specifically created specifically for cooking and baking.
Not for face carvings, candles, or fancy decorations.
Flavor, is their true mission.
These pumpkins are typically 6” to 7” in diameter, and are sufficient to make 1 – 9” diameter pumpkin pie.
Ok, so, you’ve bought your pie pumpkin… now what?
1, Set your oven for 350 F. And have a sheet pan / any pan with a bit of a side wall.
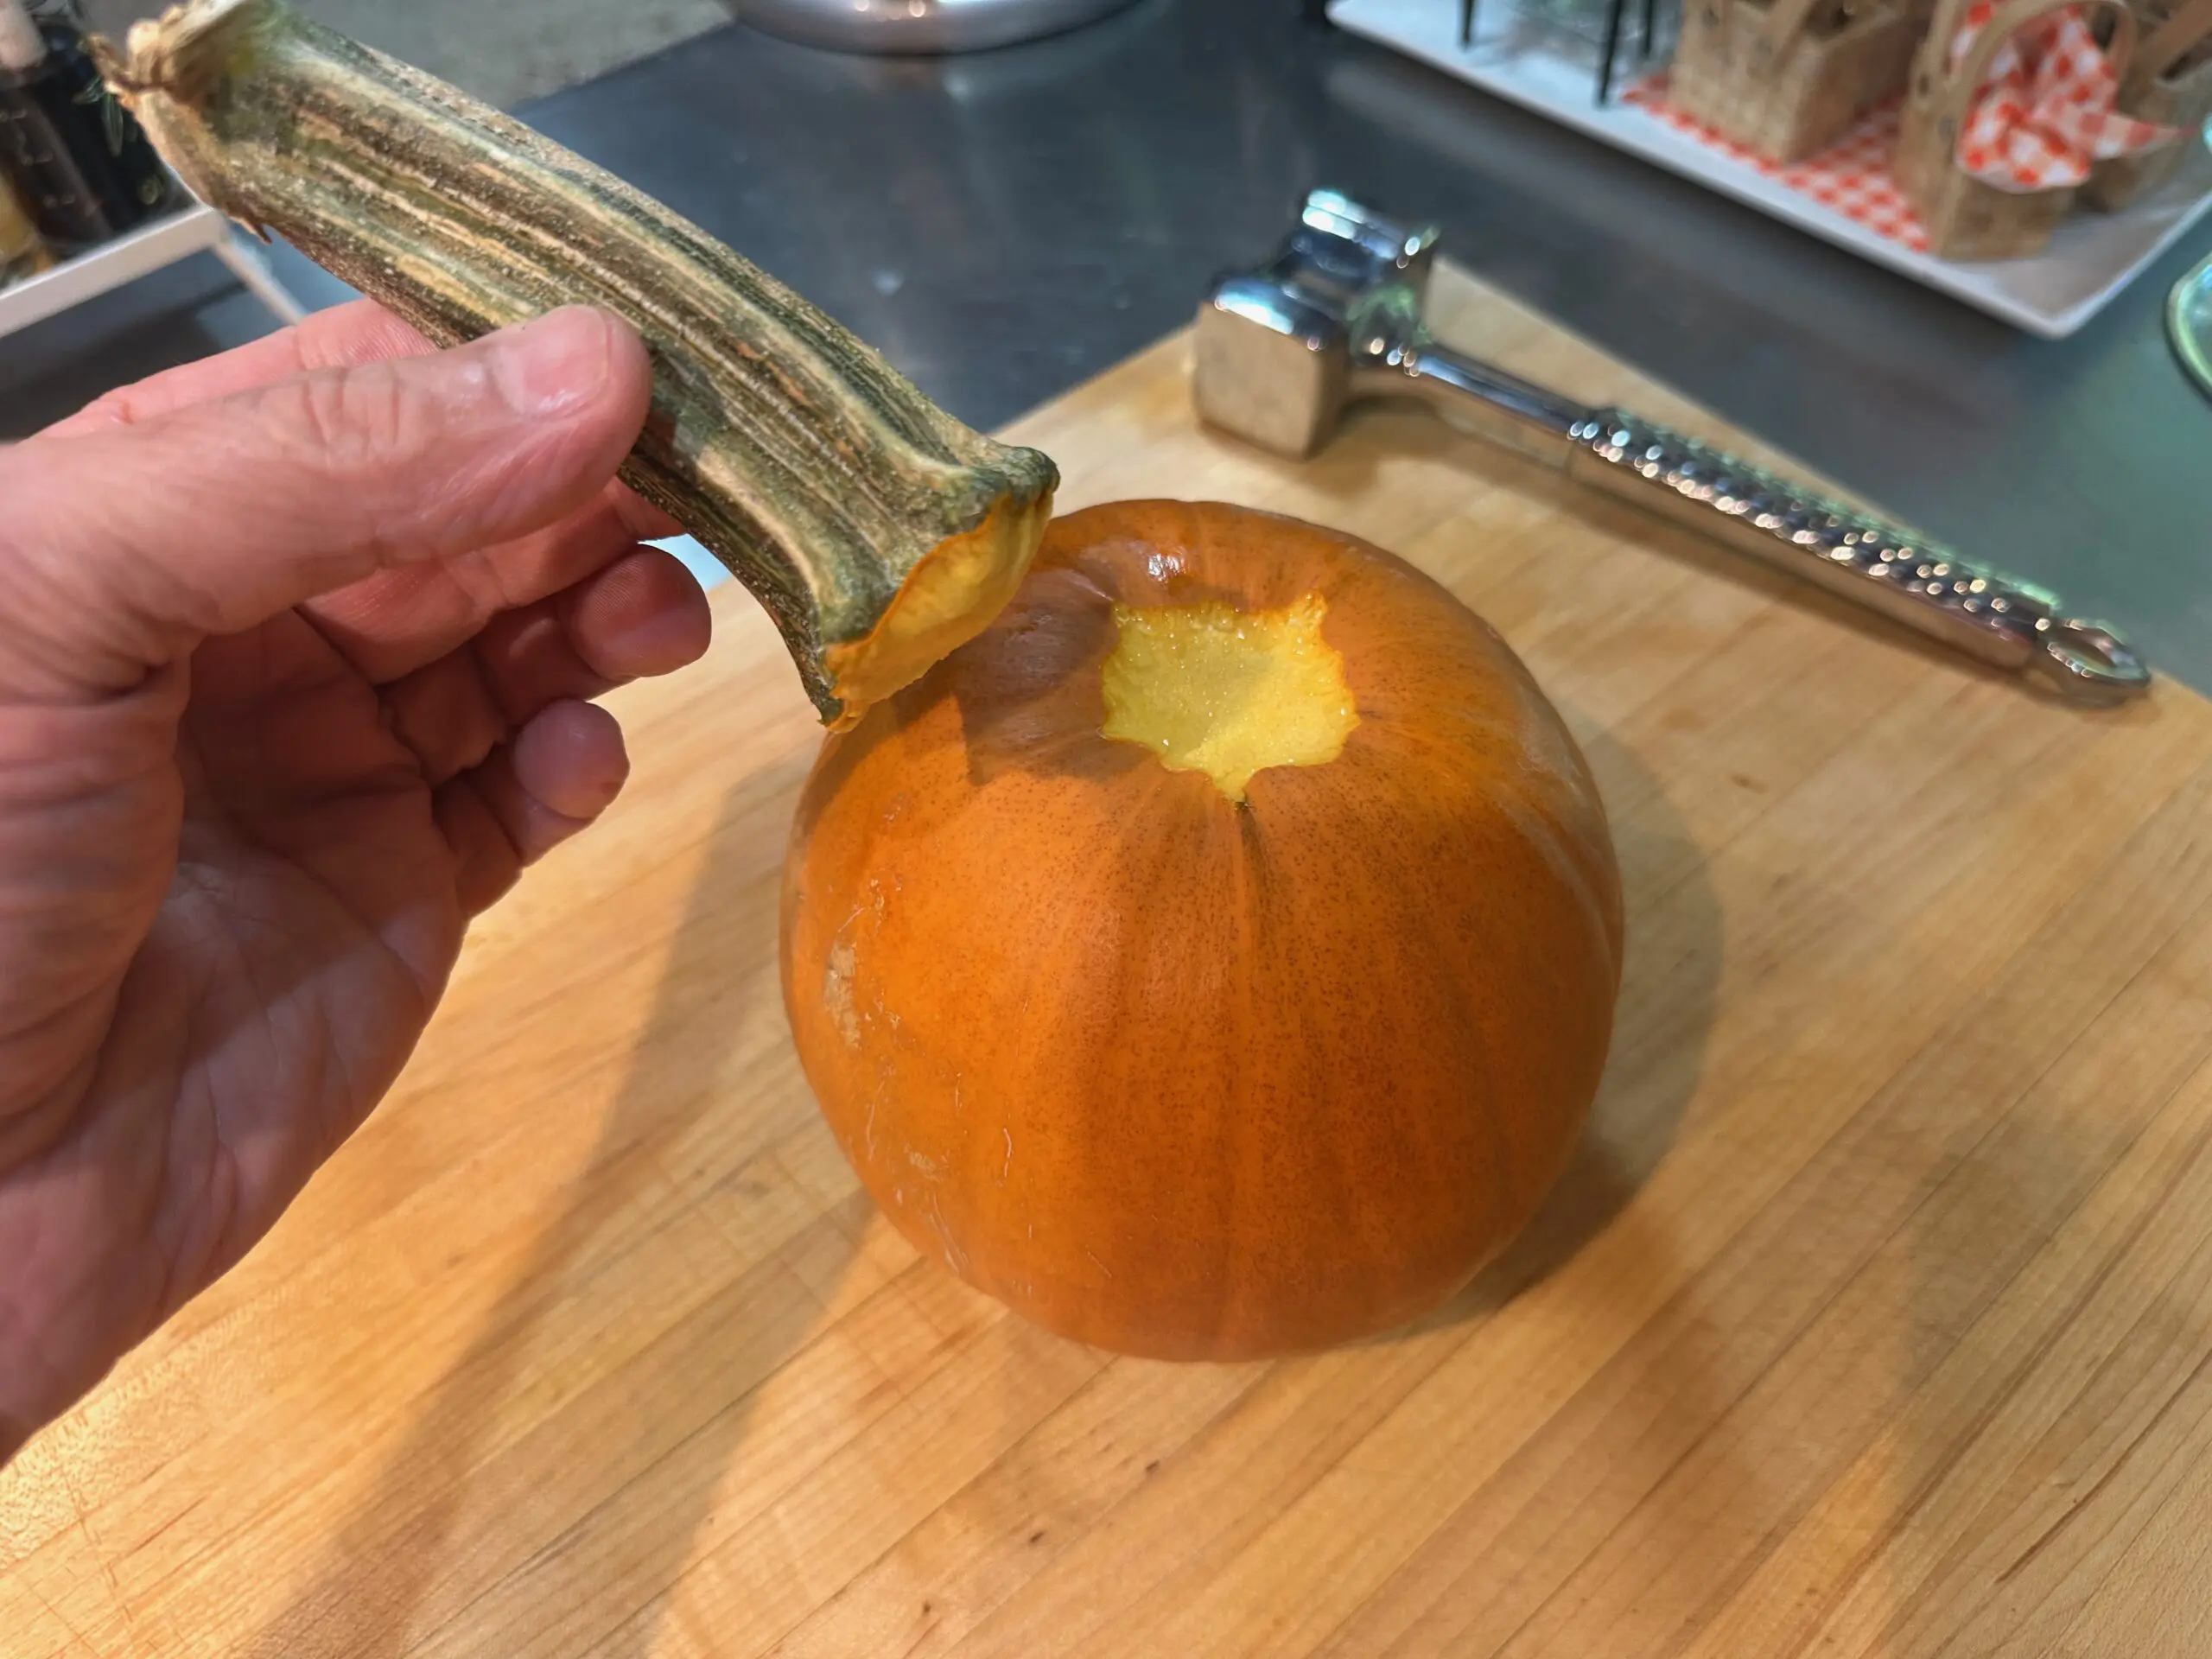
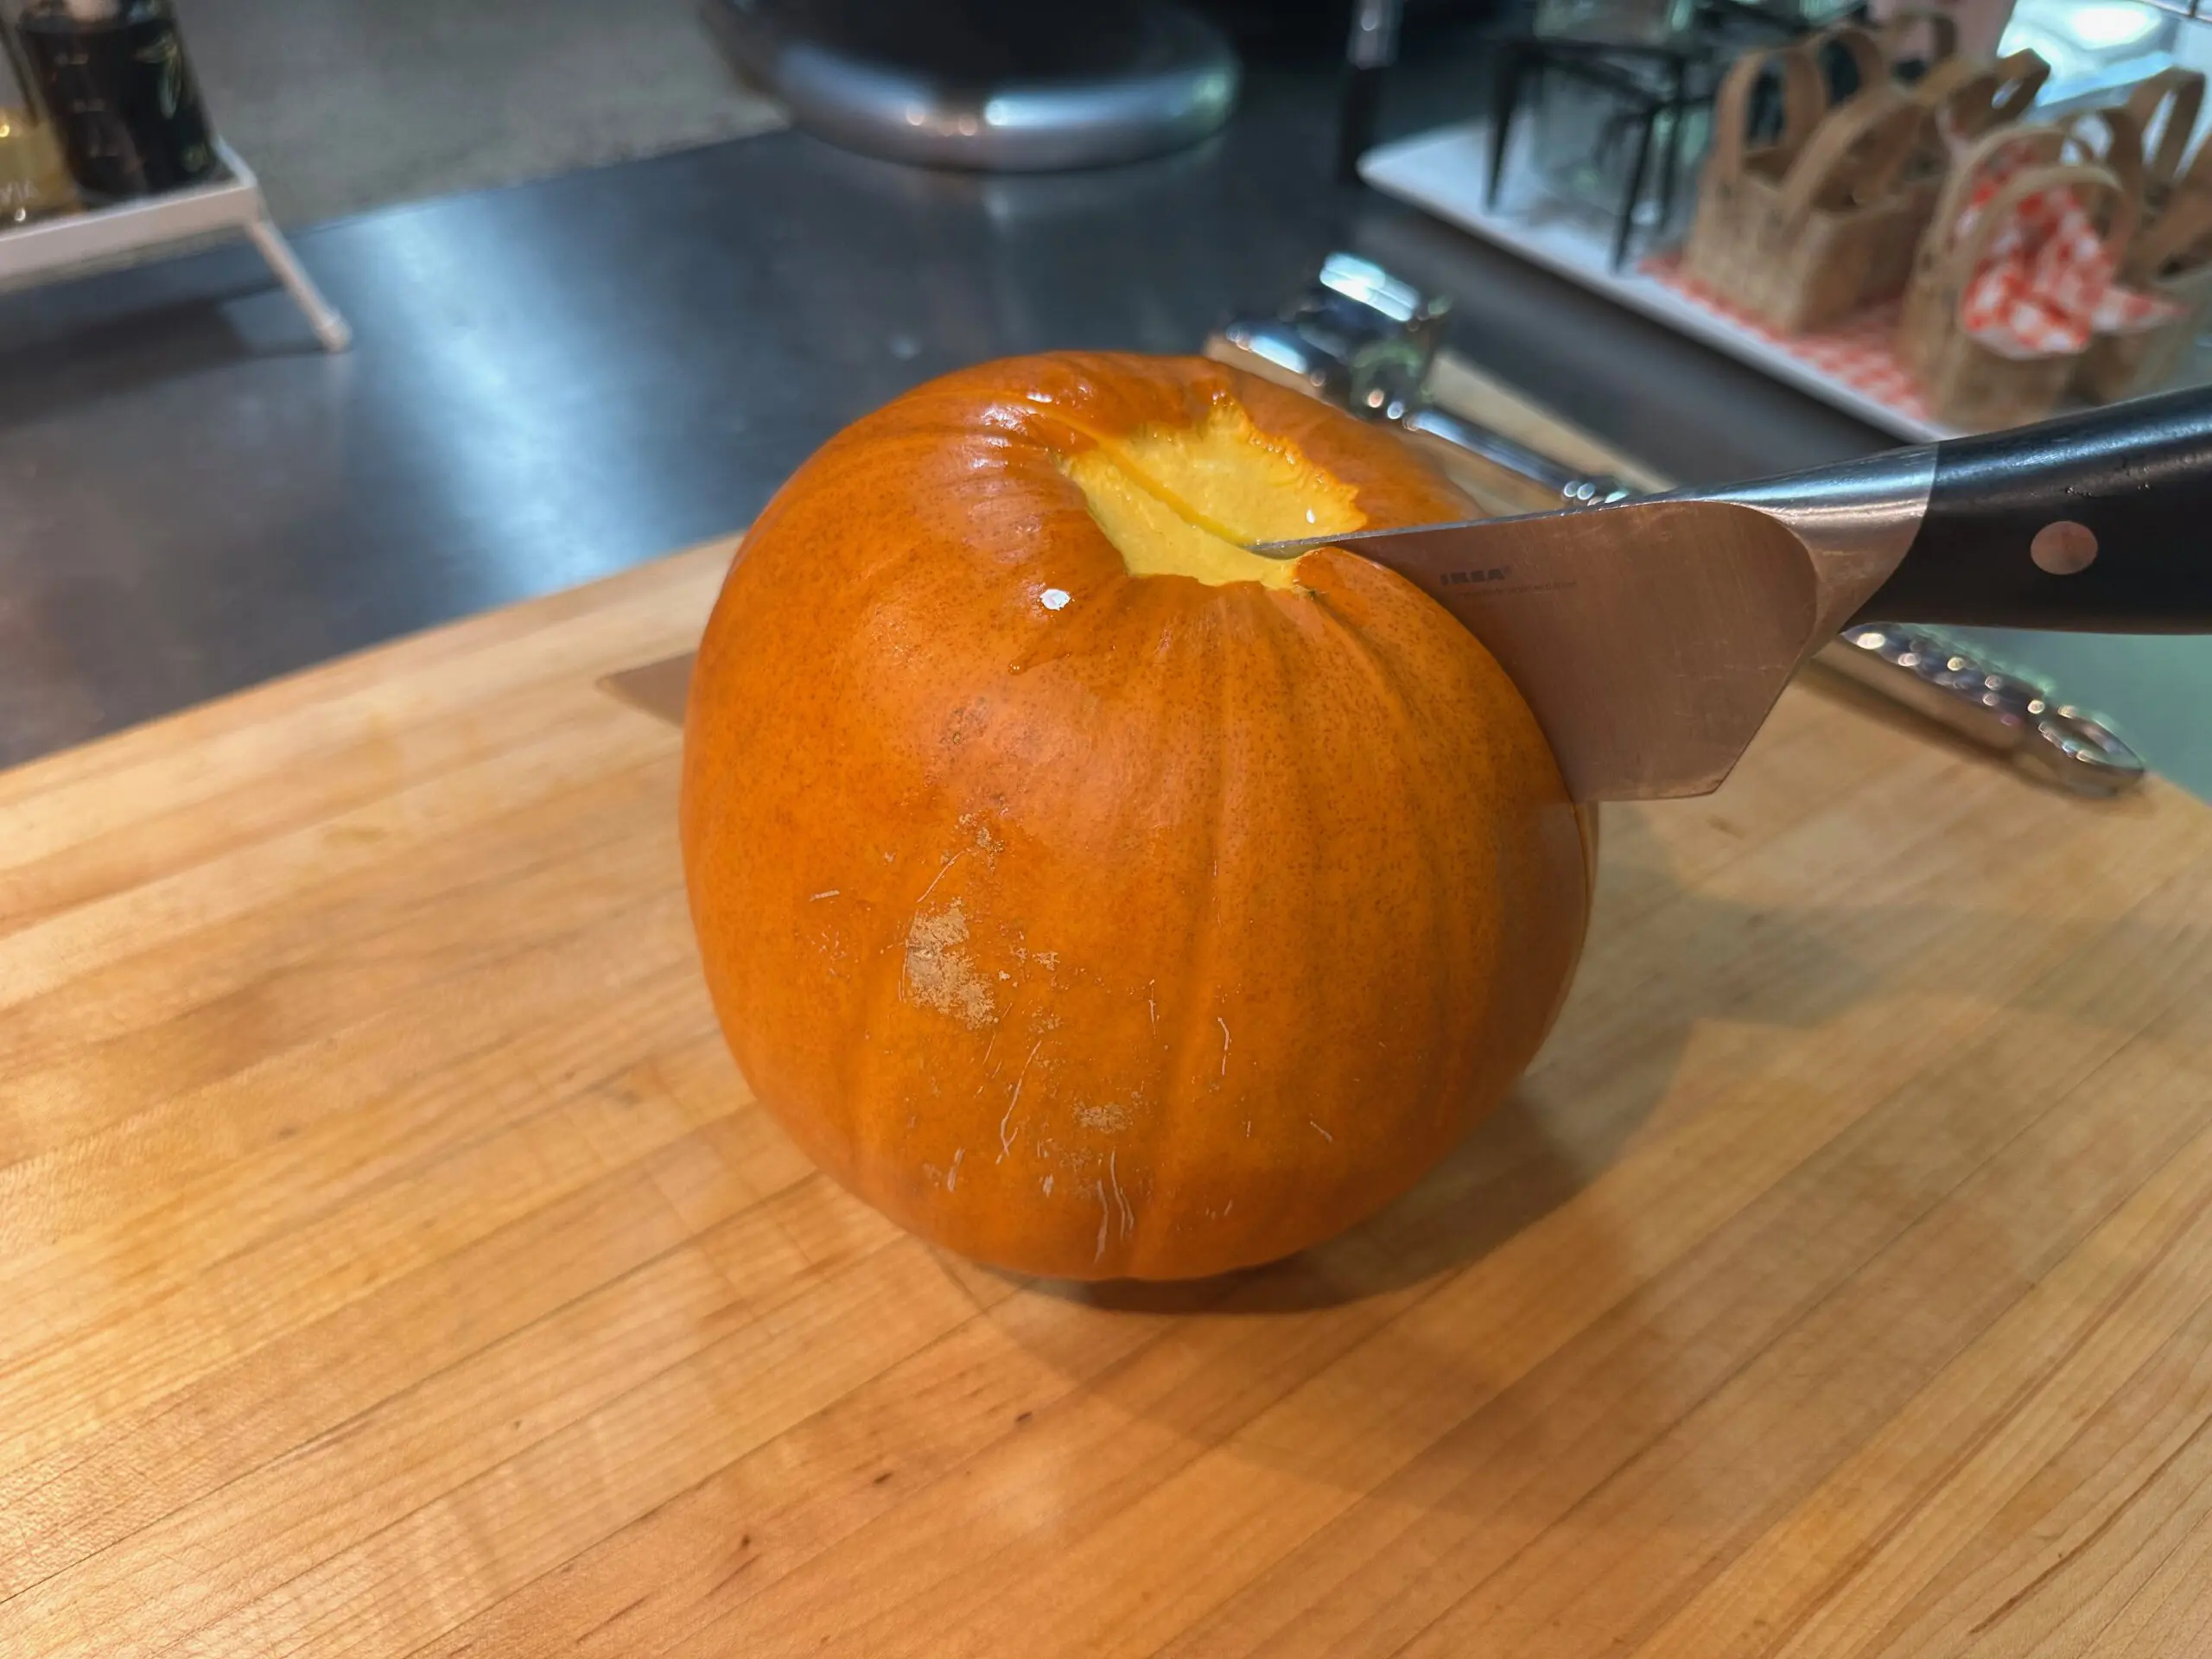
2. Knock off the stem.
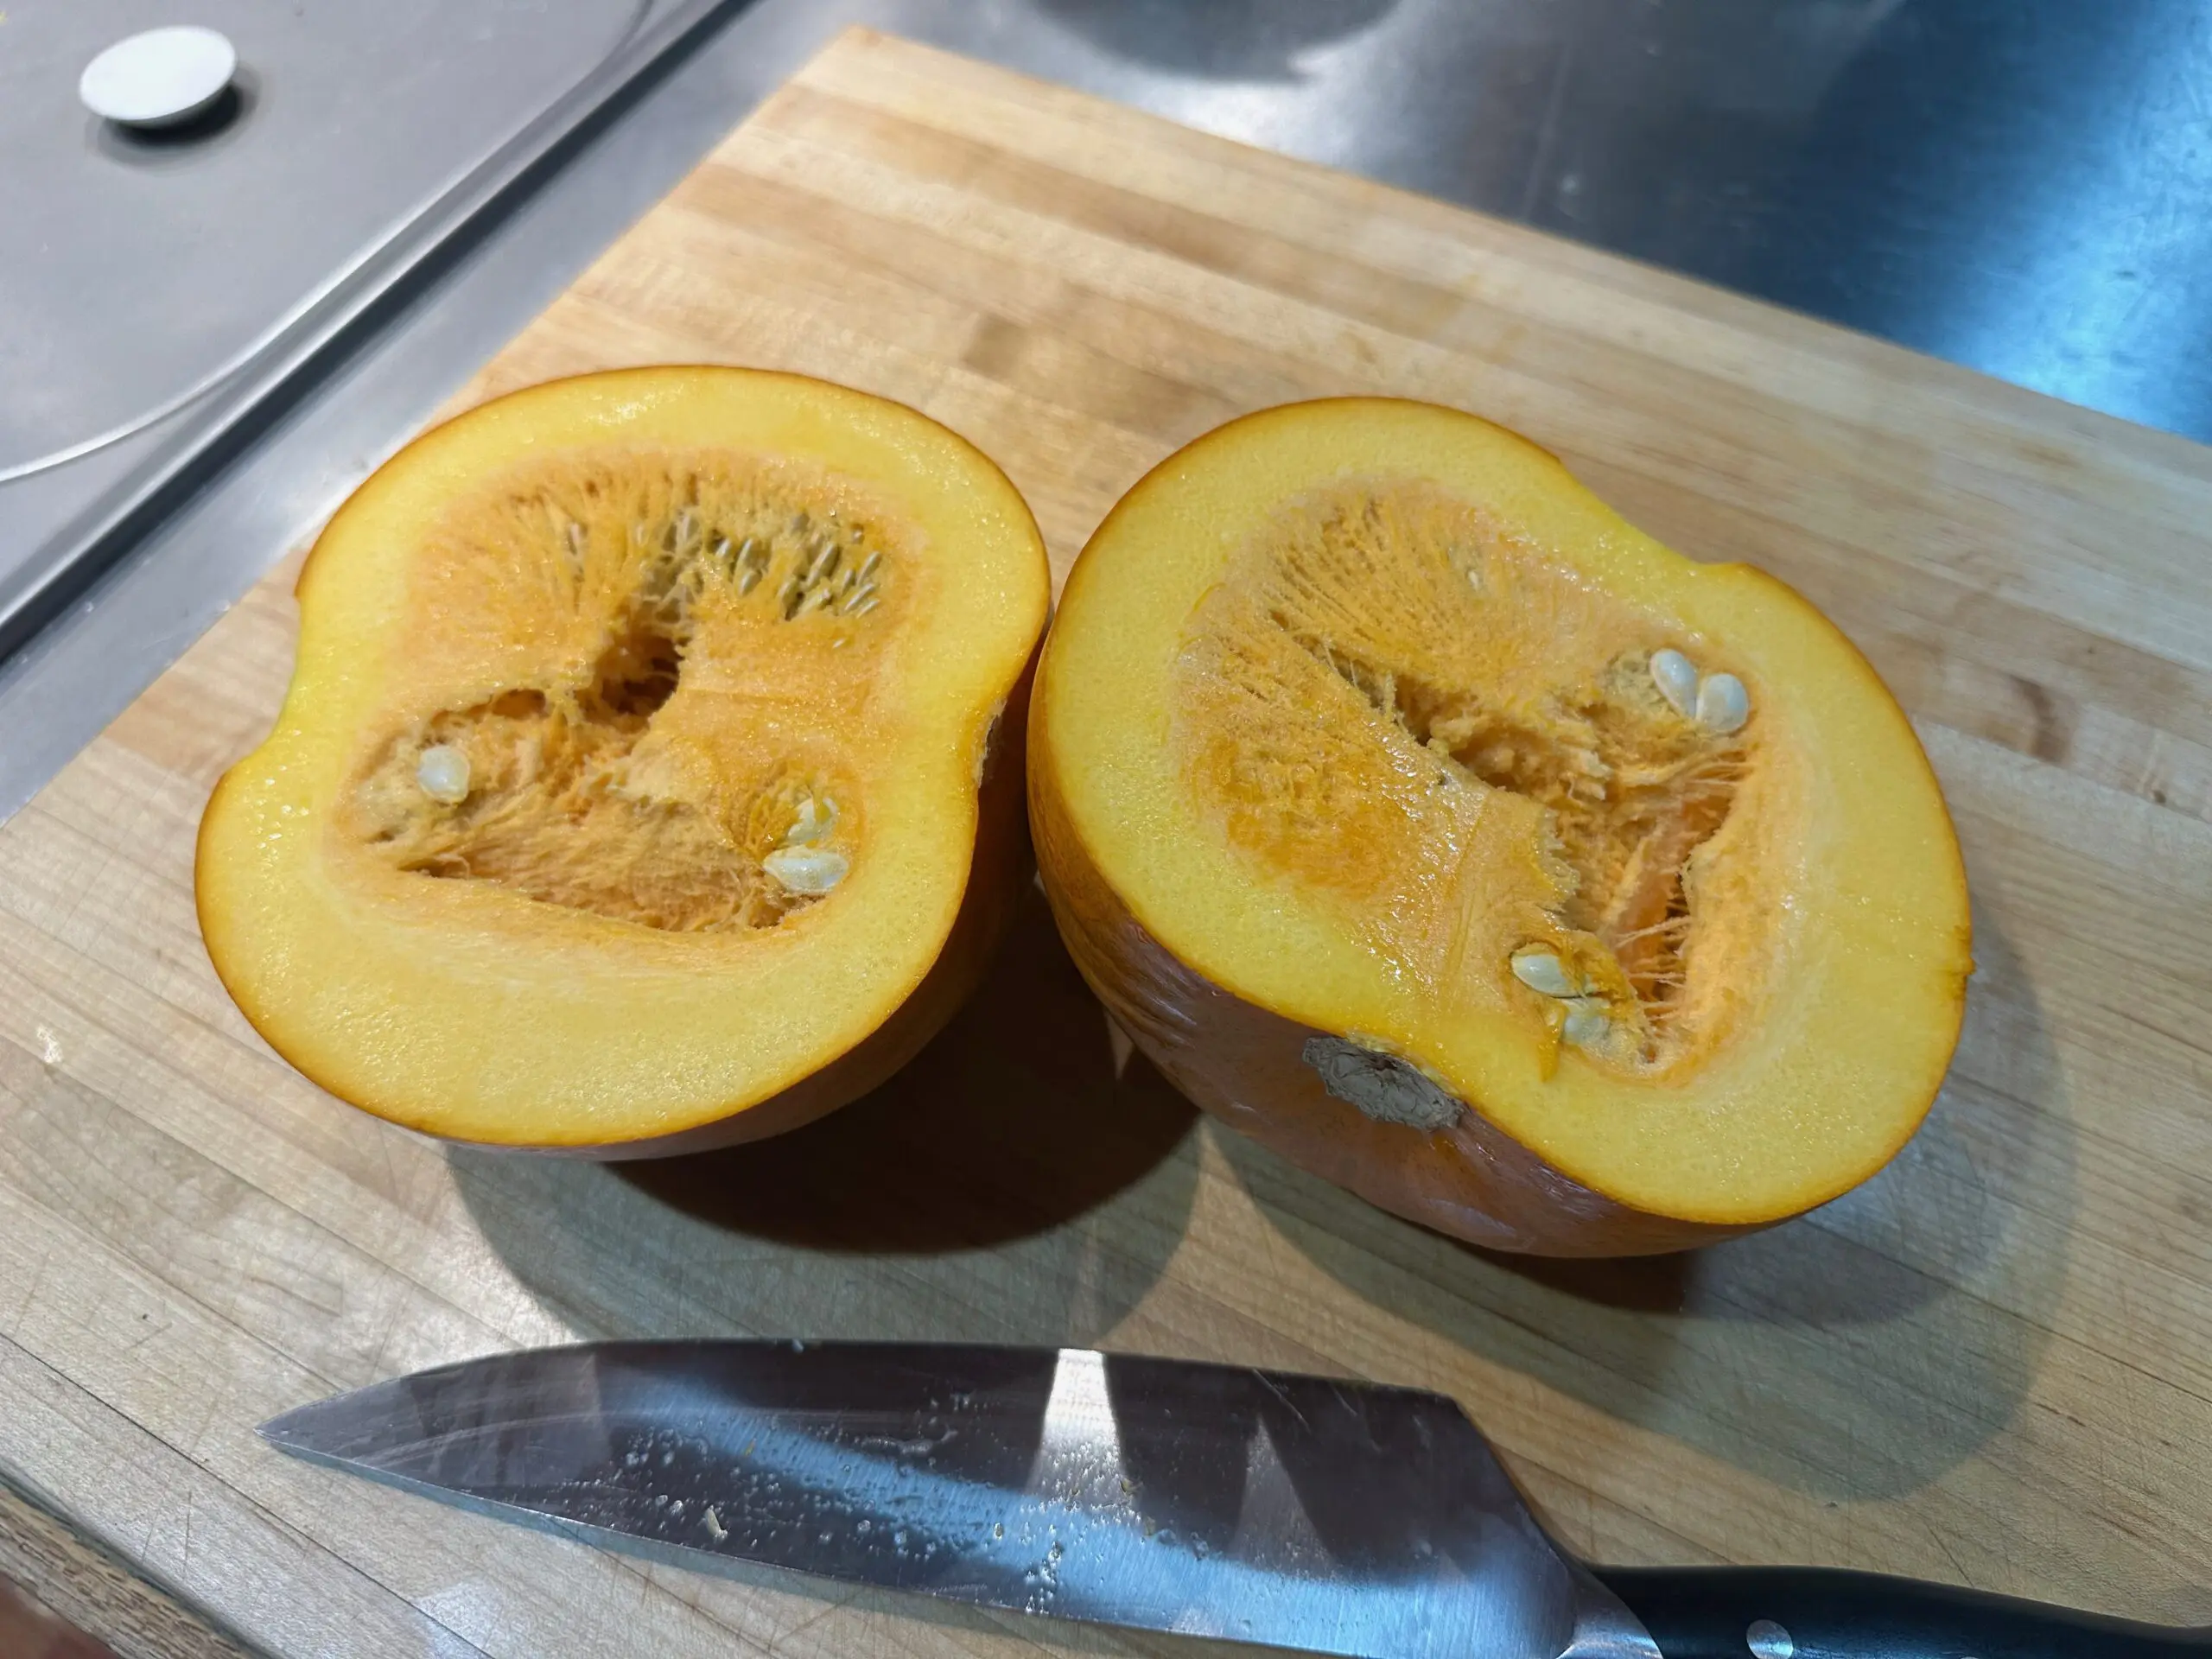
3. Cut the pumpkin directly in half, through the former stem area, from top to bottom.
4. Scoop out the seeds and all of the stringy stuff… right down to the solid, firm flesh.
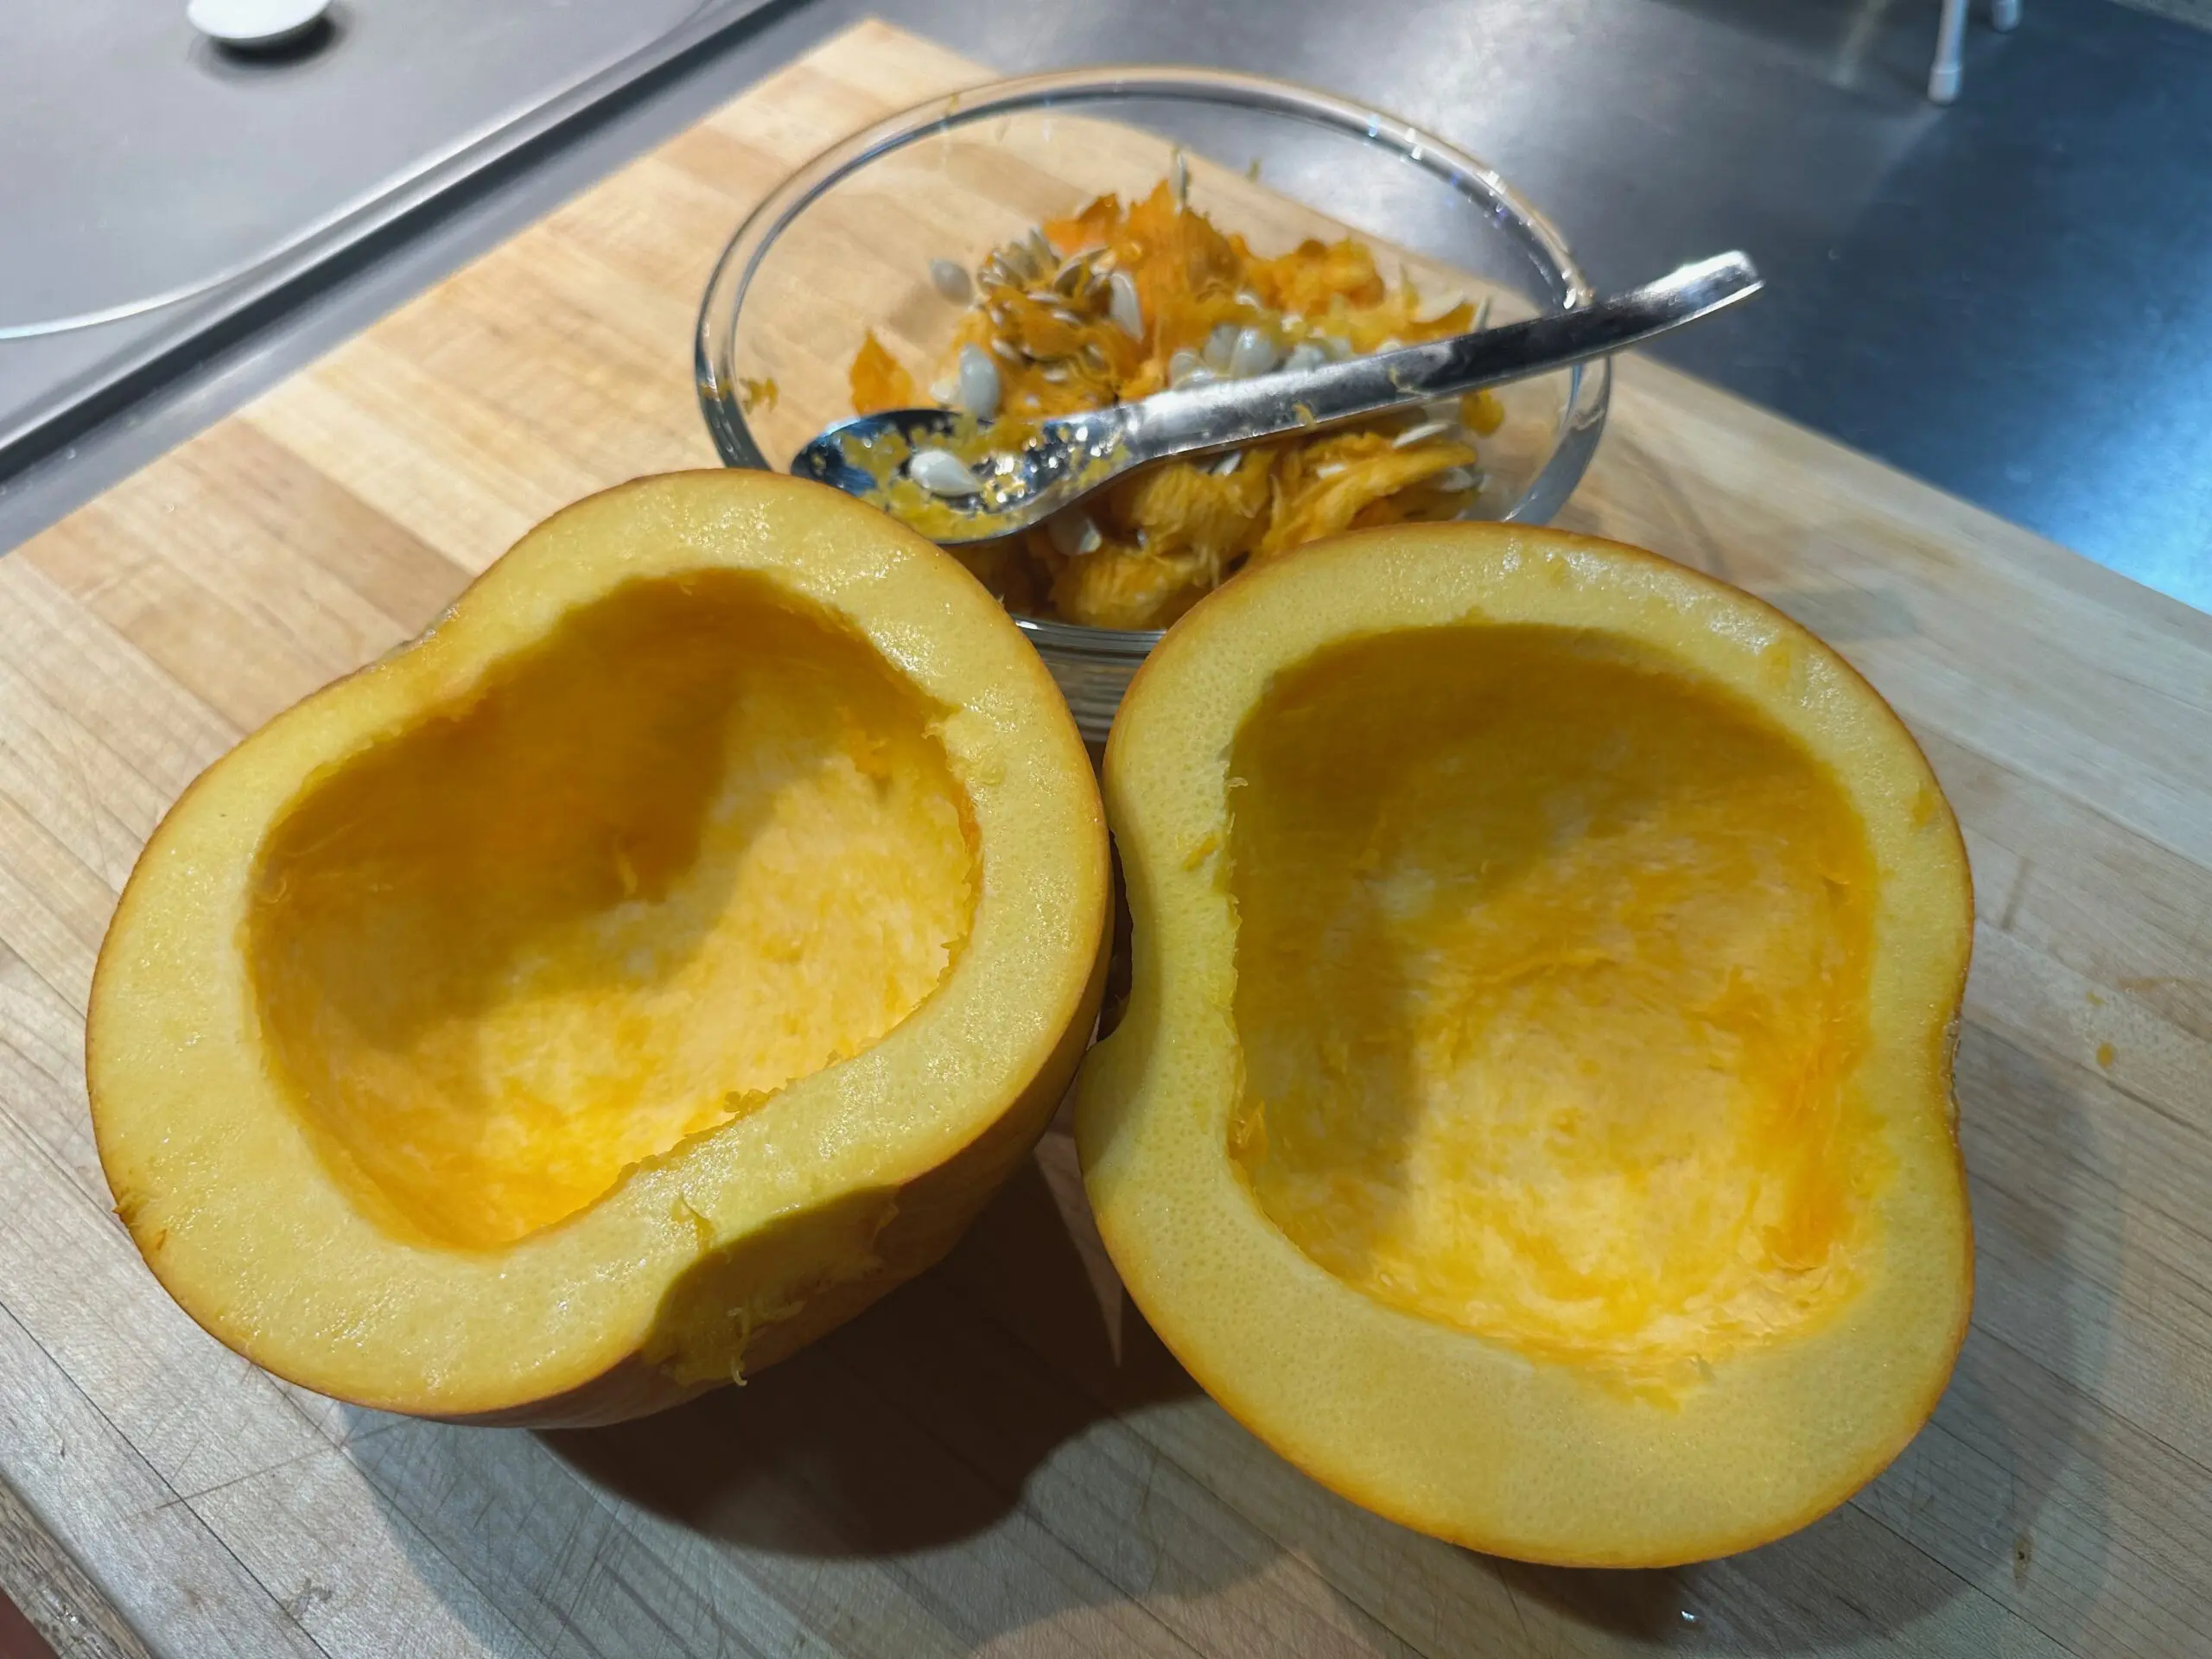
5. (Optionally) Brush the interior pulp with melted butter or spray with non-stick oil.
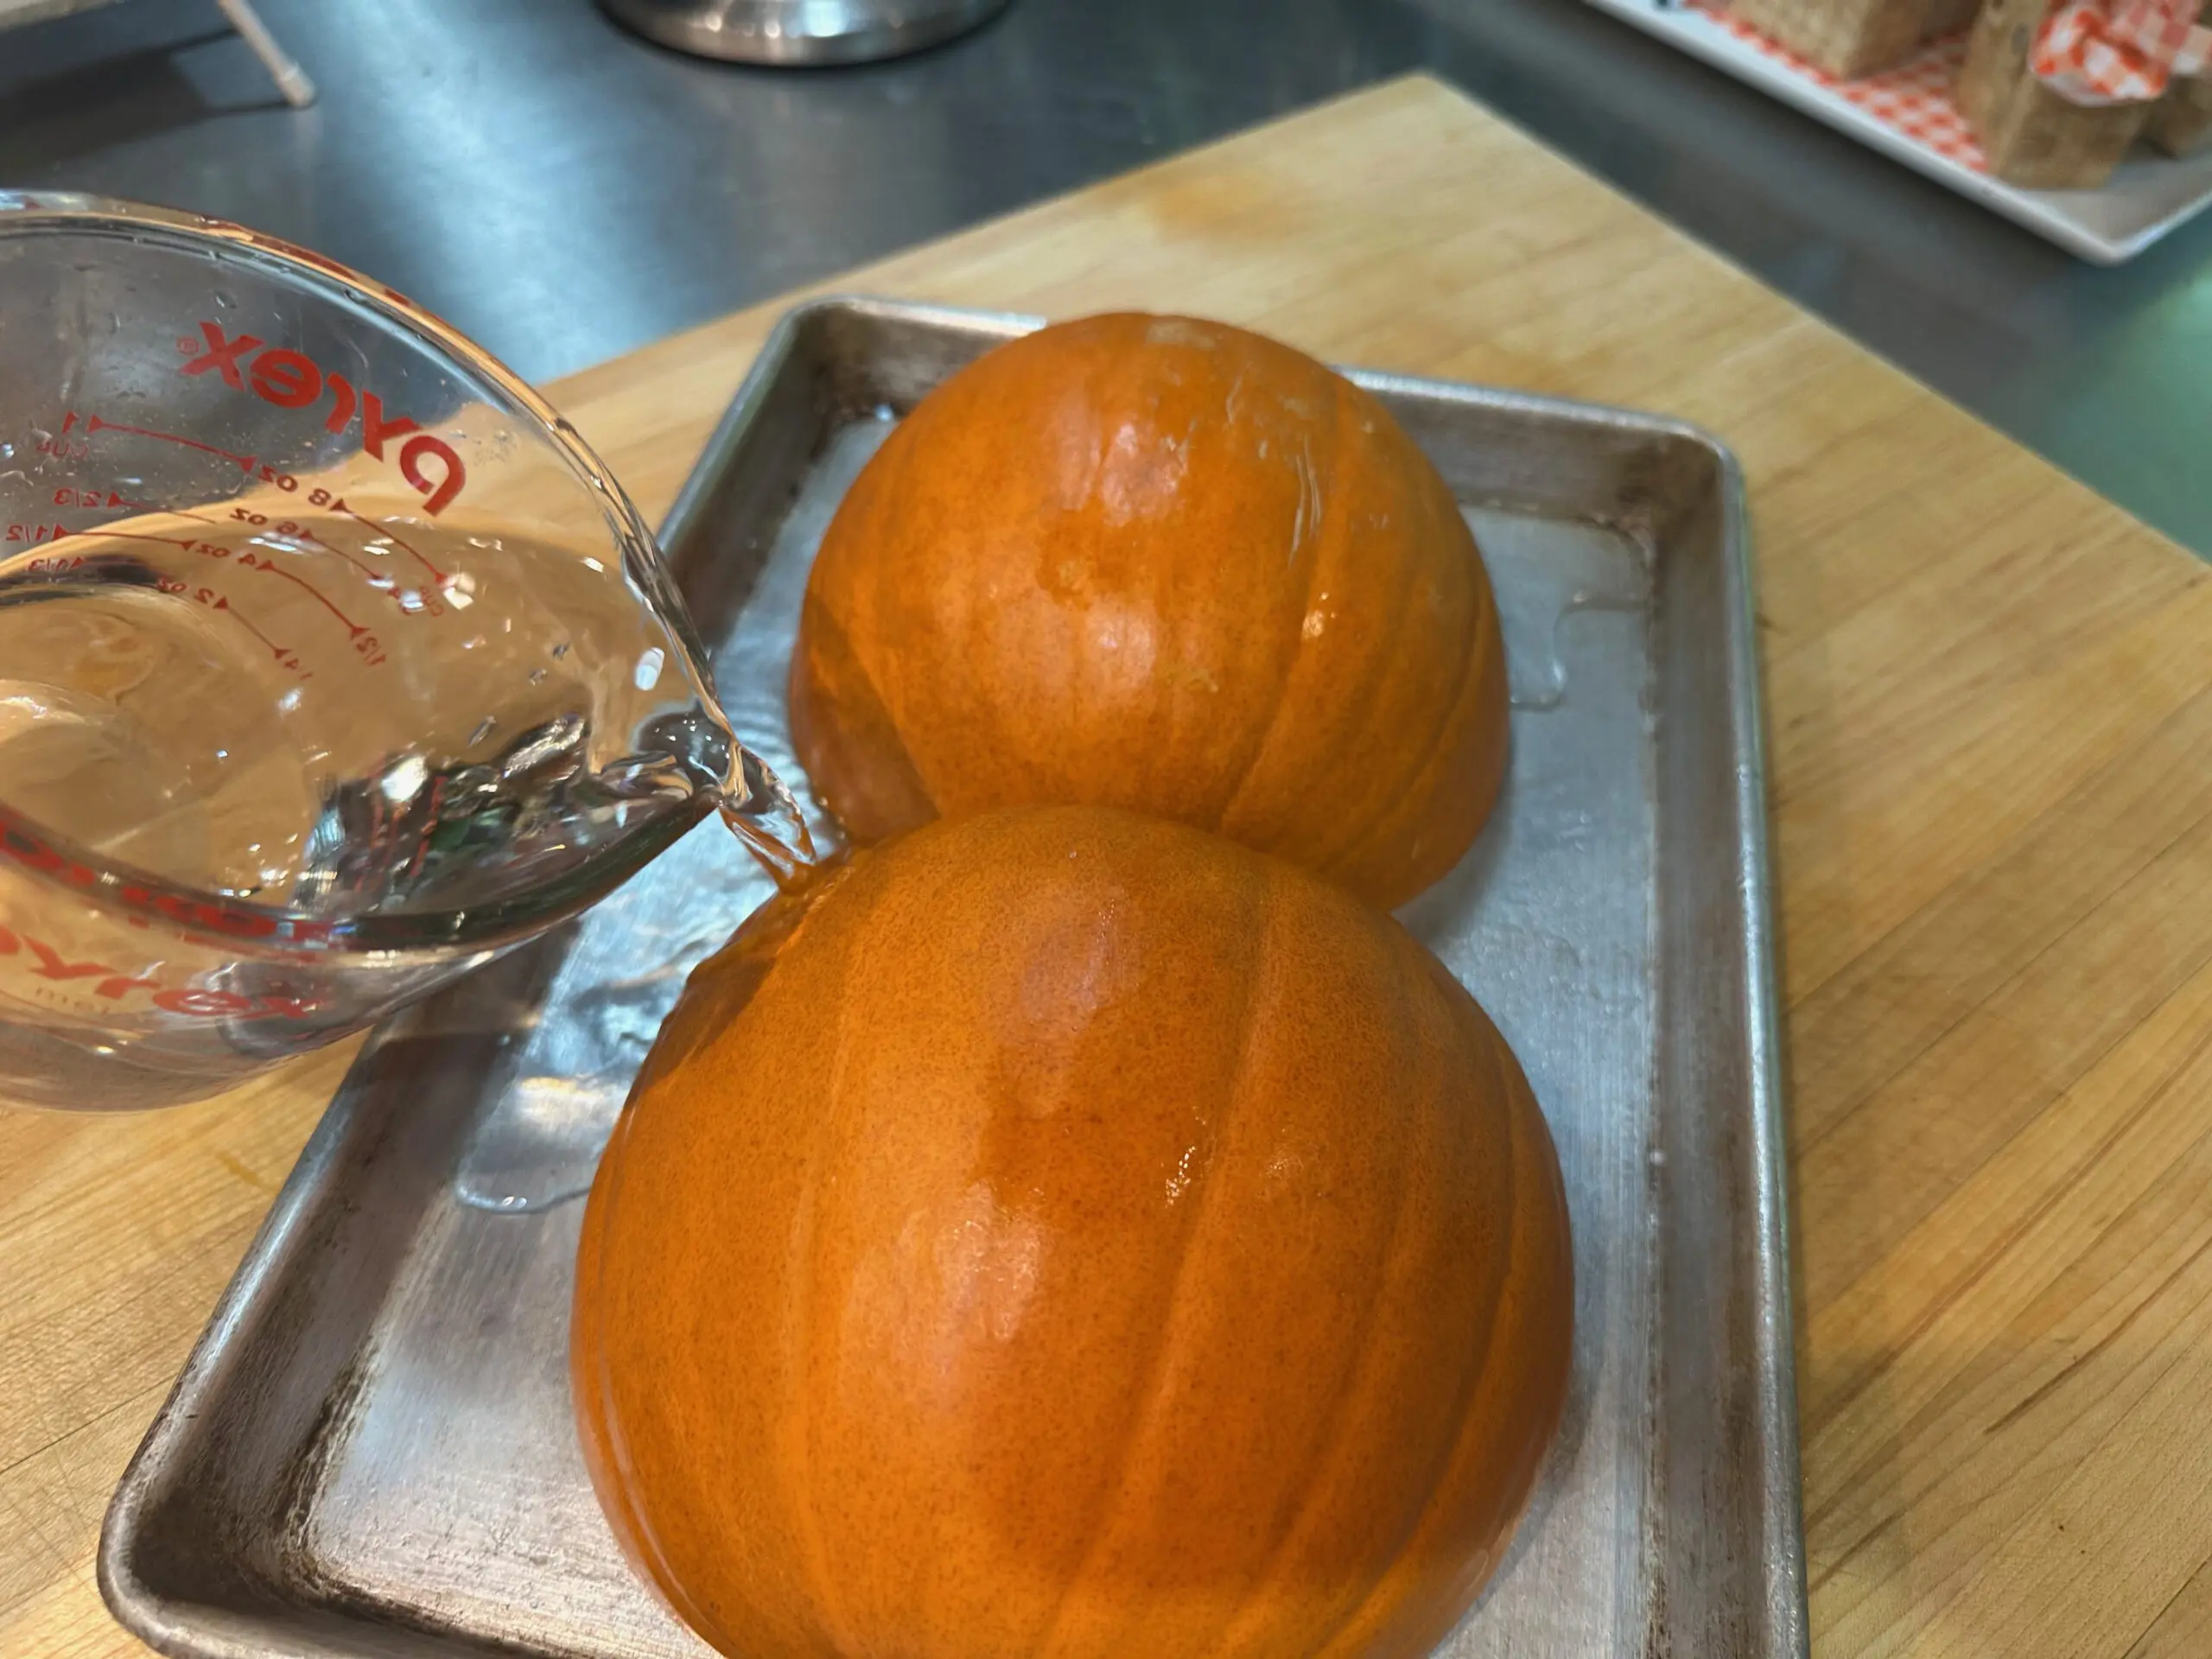
6. Place upside down (pulp side down) on your baking sheet, and then add just enough water, to create a very shallow pool.
7. Place in the oven and bake approximately 50 to 55 minutes, or, until you can press down on the exterior shell (skin), and it easily gives way, and is soft. (Notice how is looks darker when cooked).
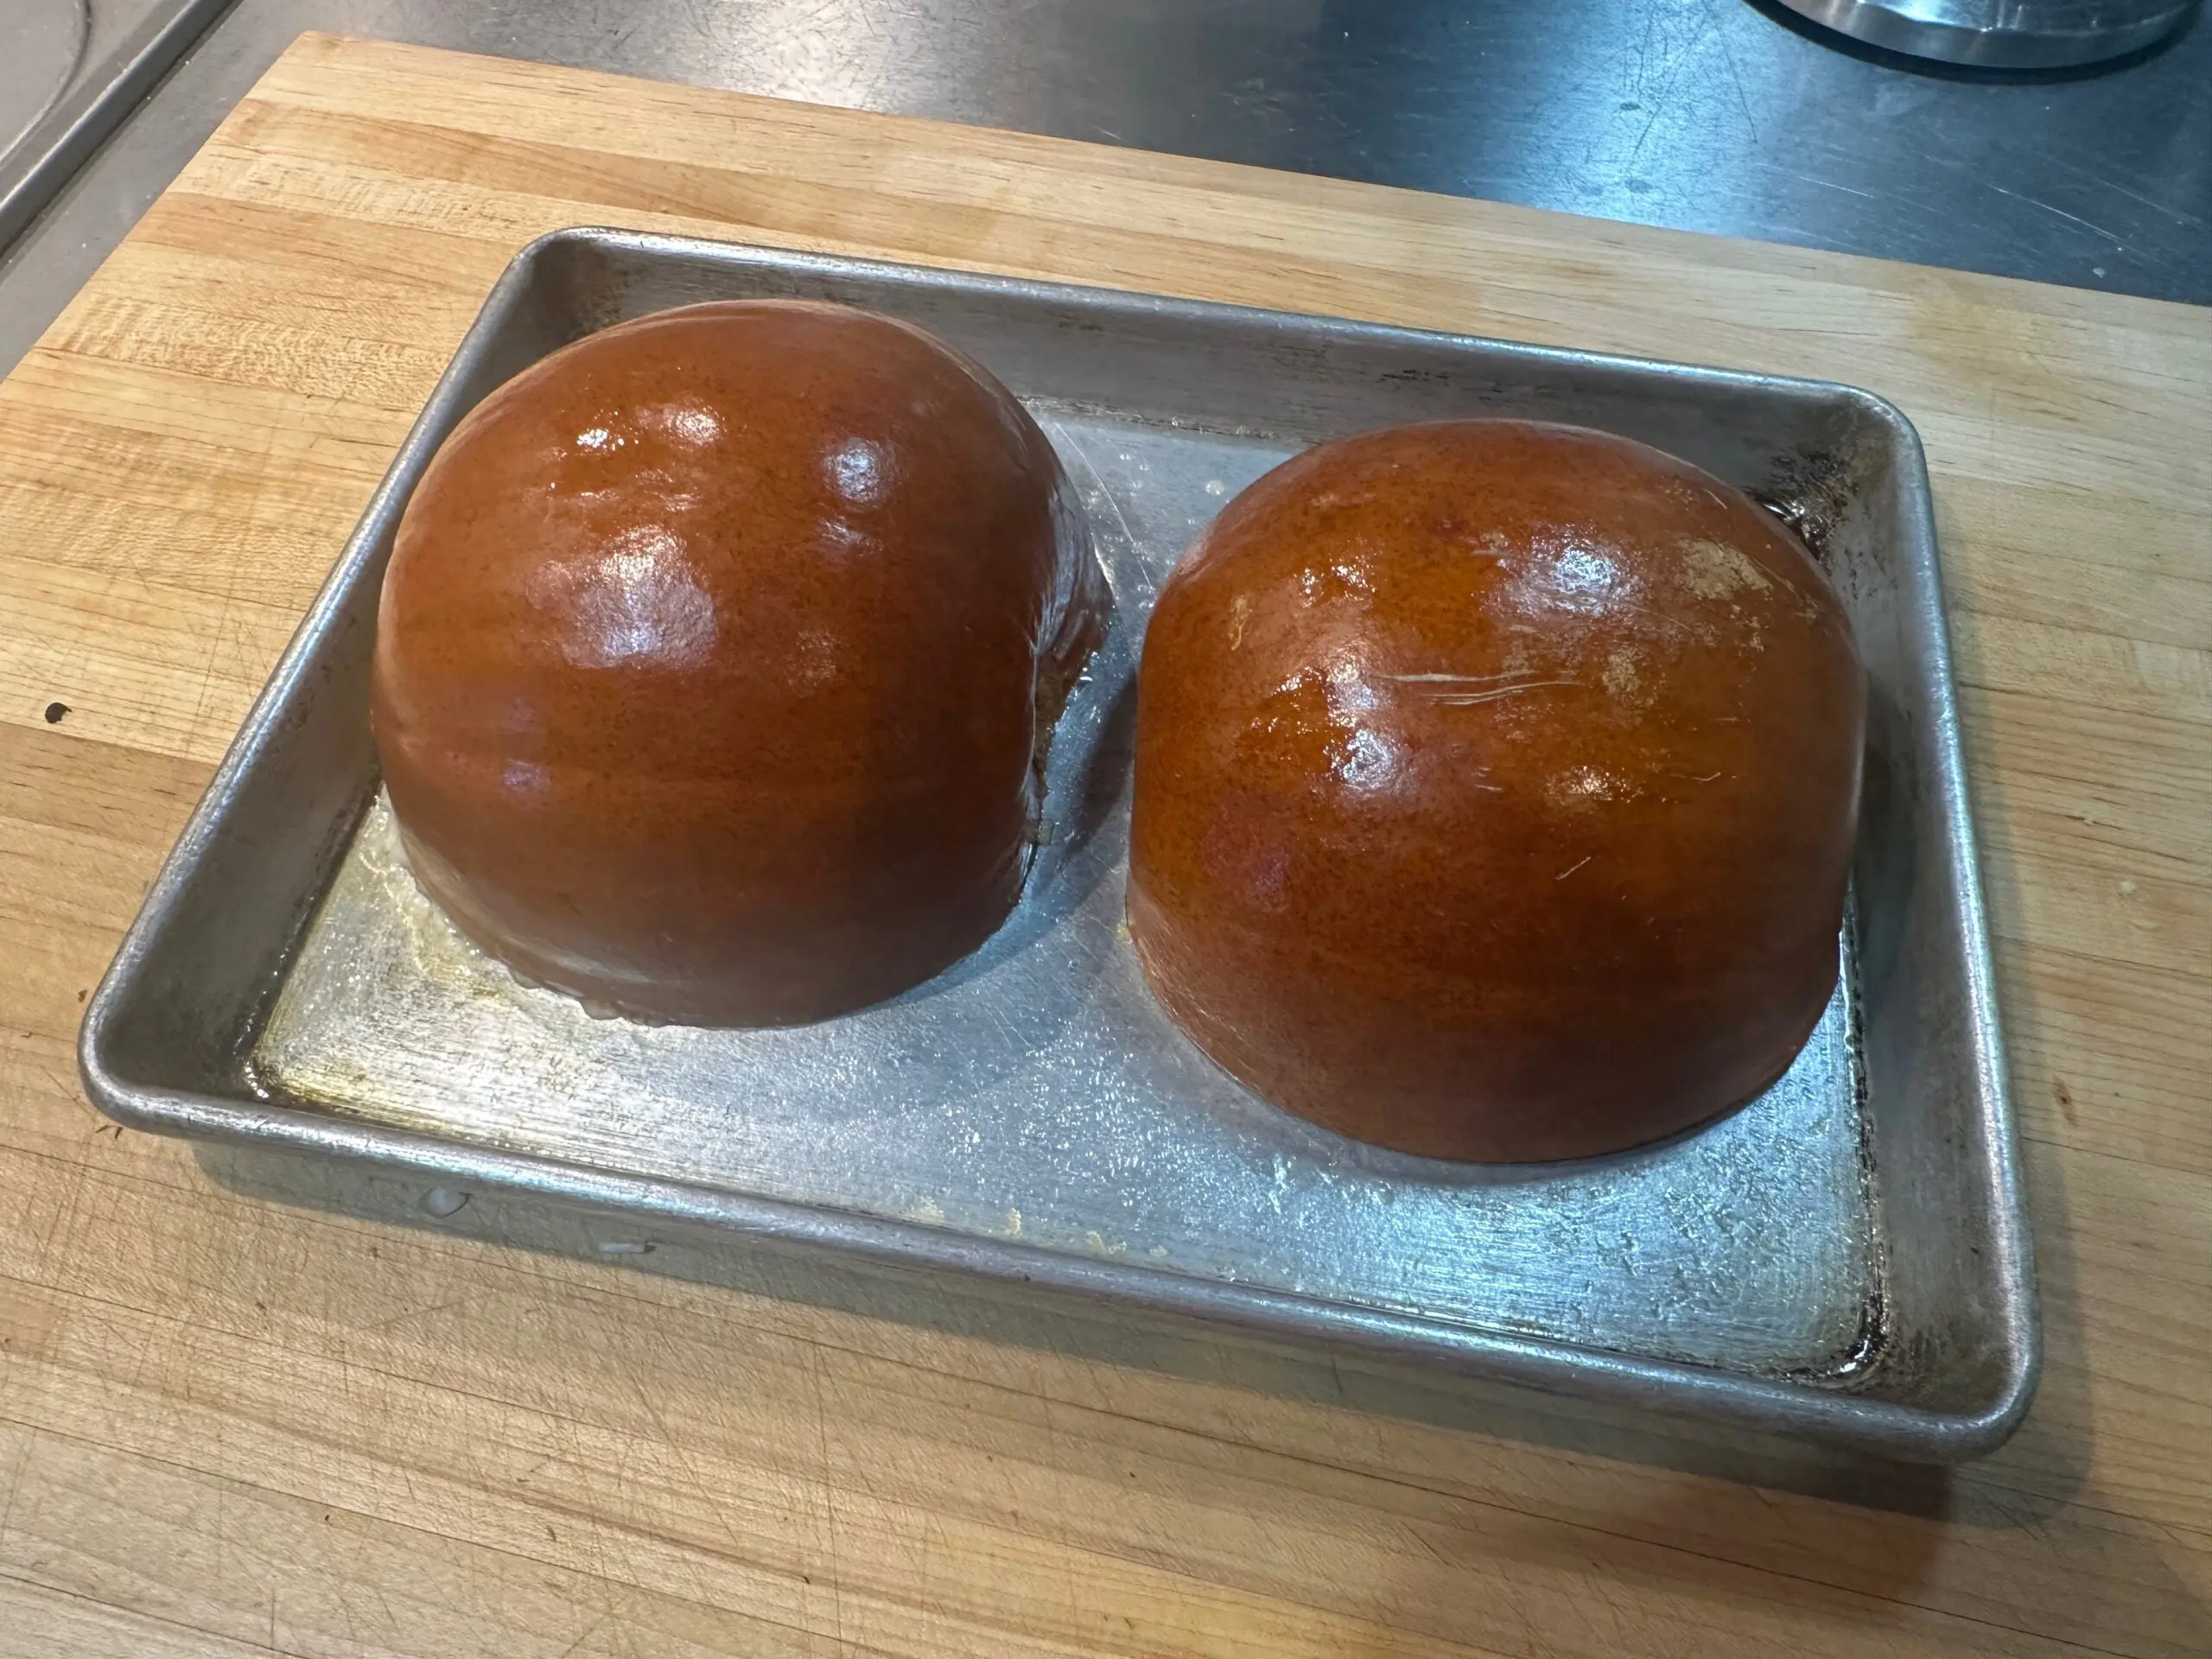
8. Remove the pan from the oven, turn the halves over to expose the cooked pulp and allow them to cool.
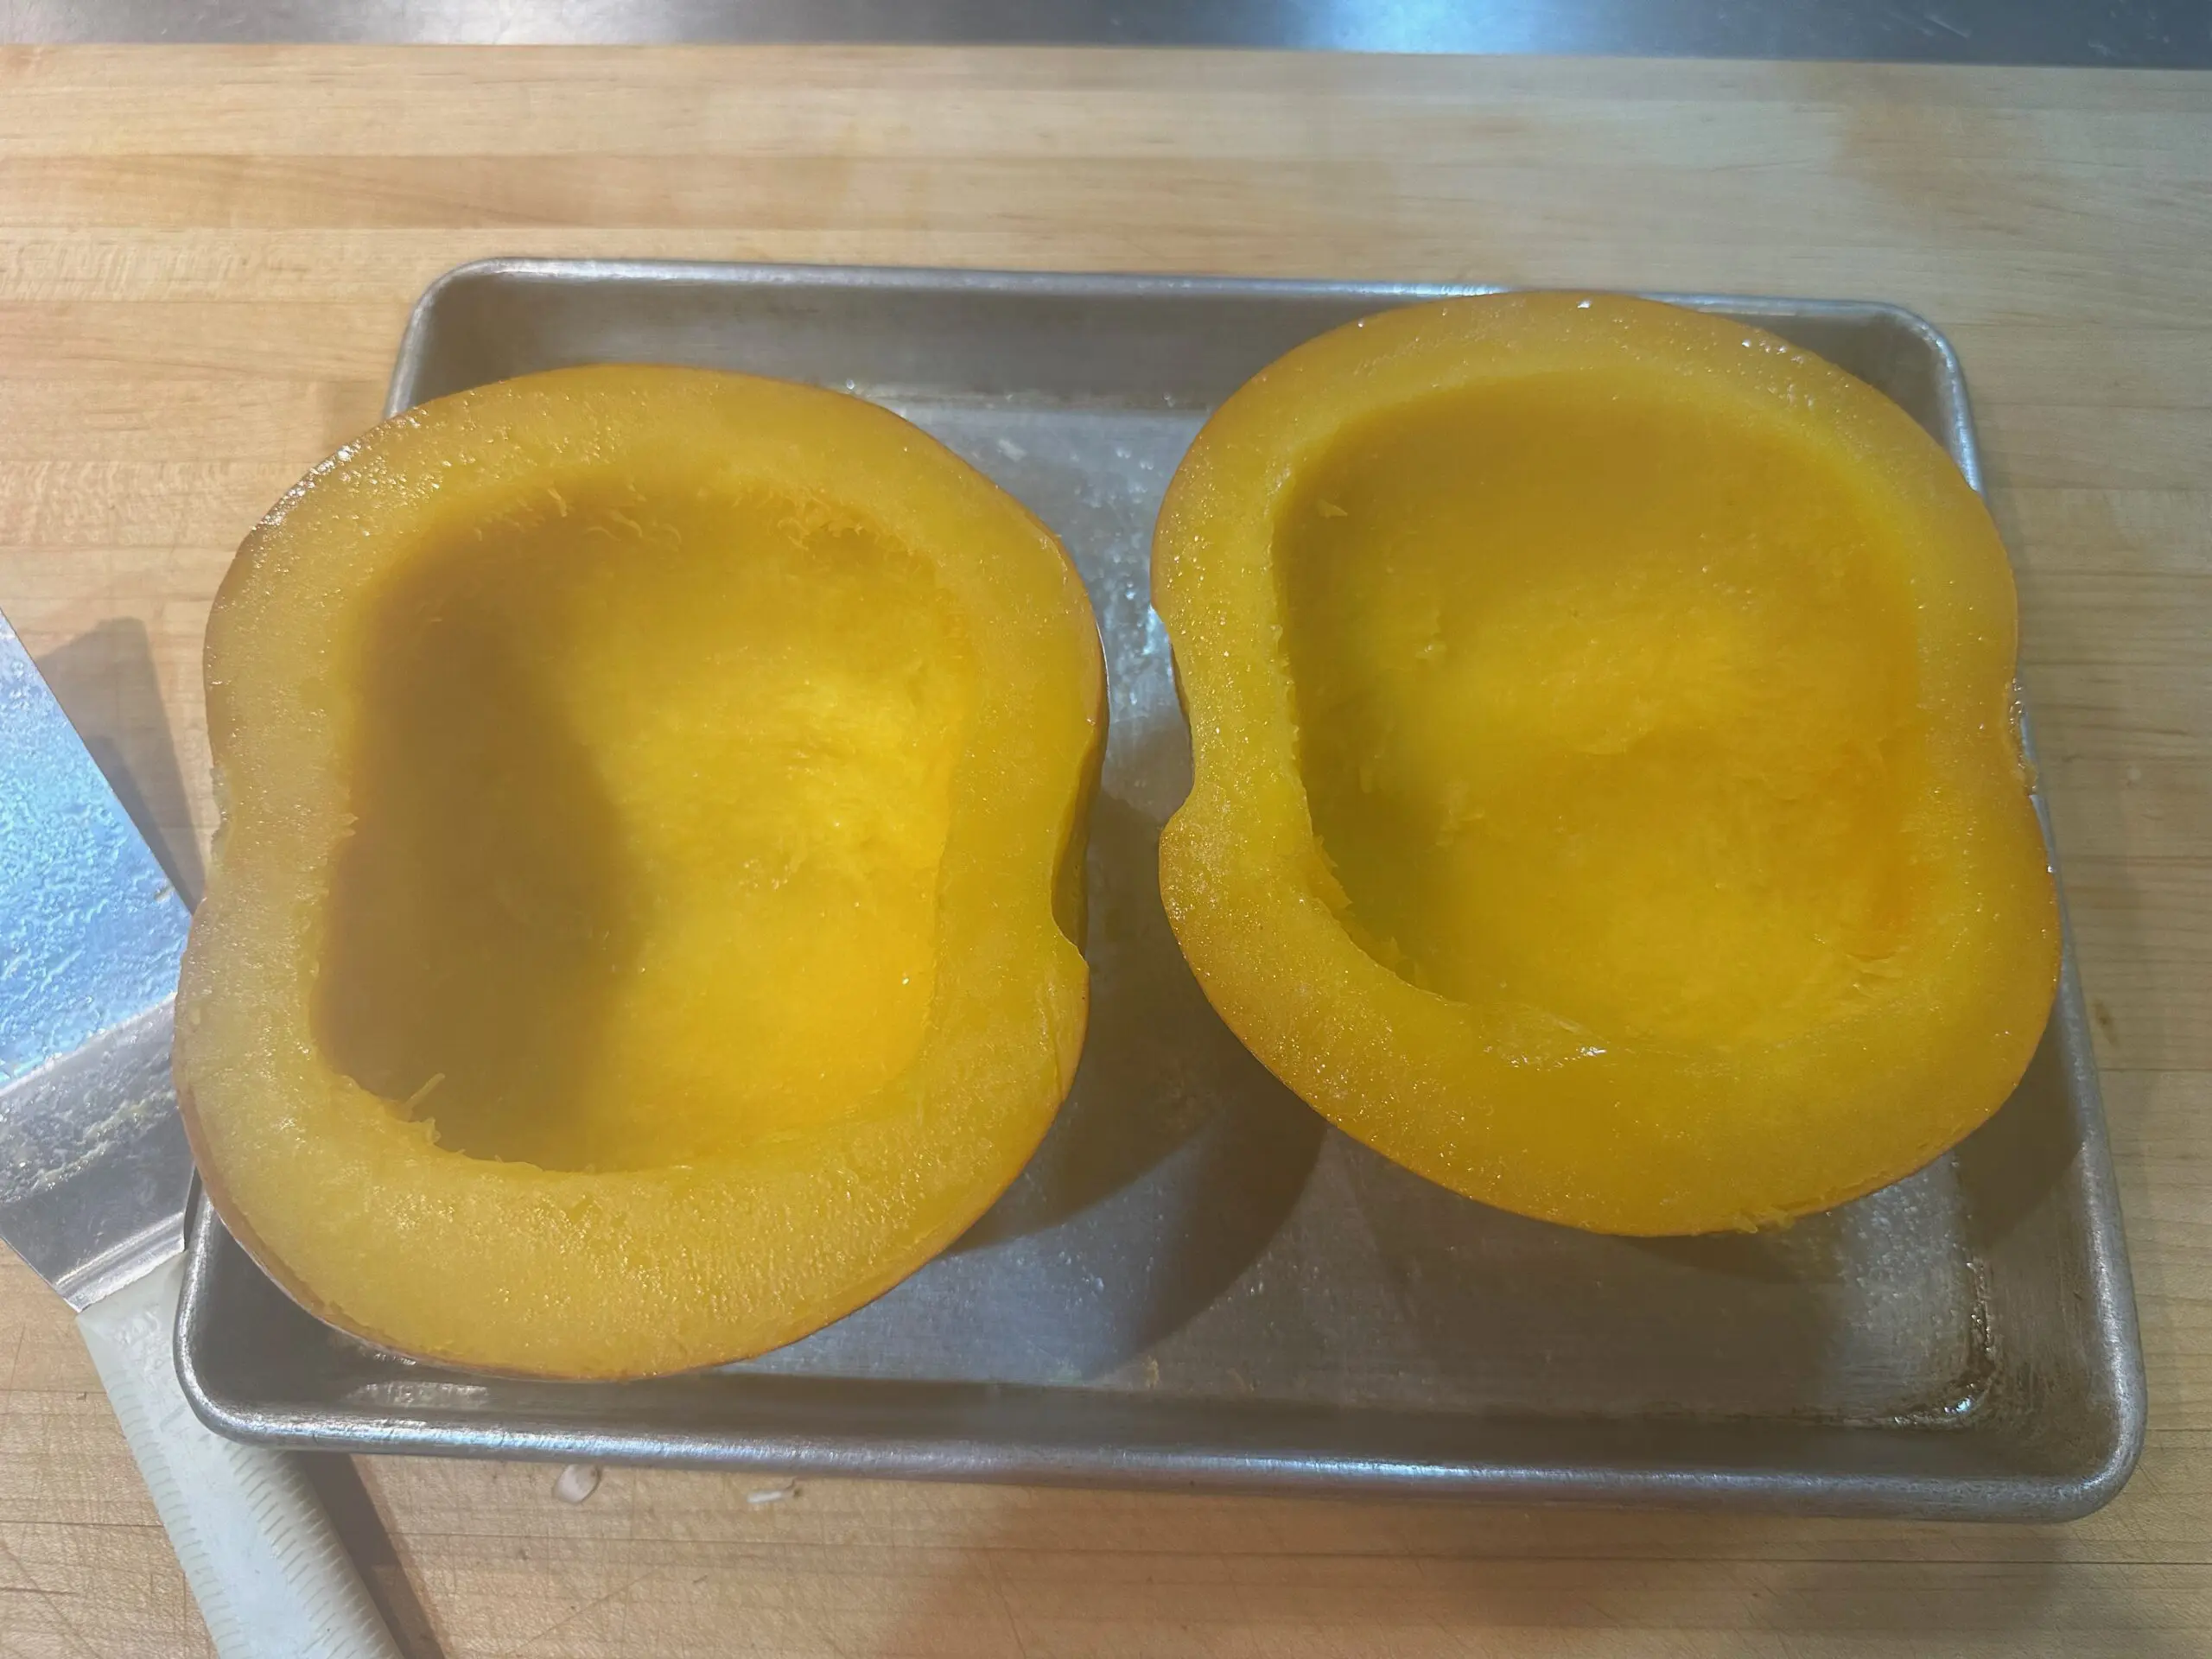
9. Once cooled, carefully remove the pulp from the inside of the pumpkin halves with a spoon.
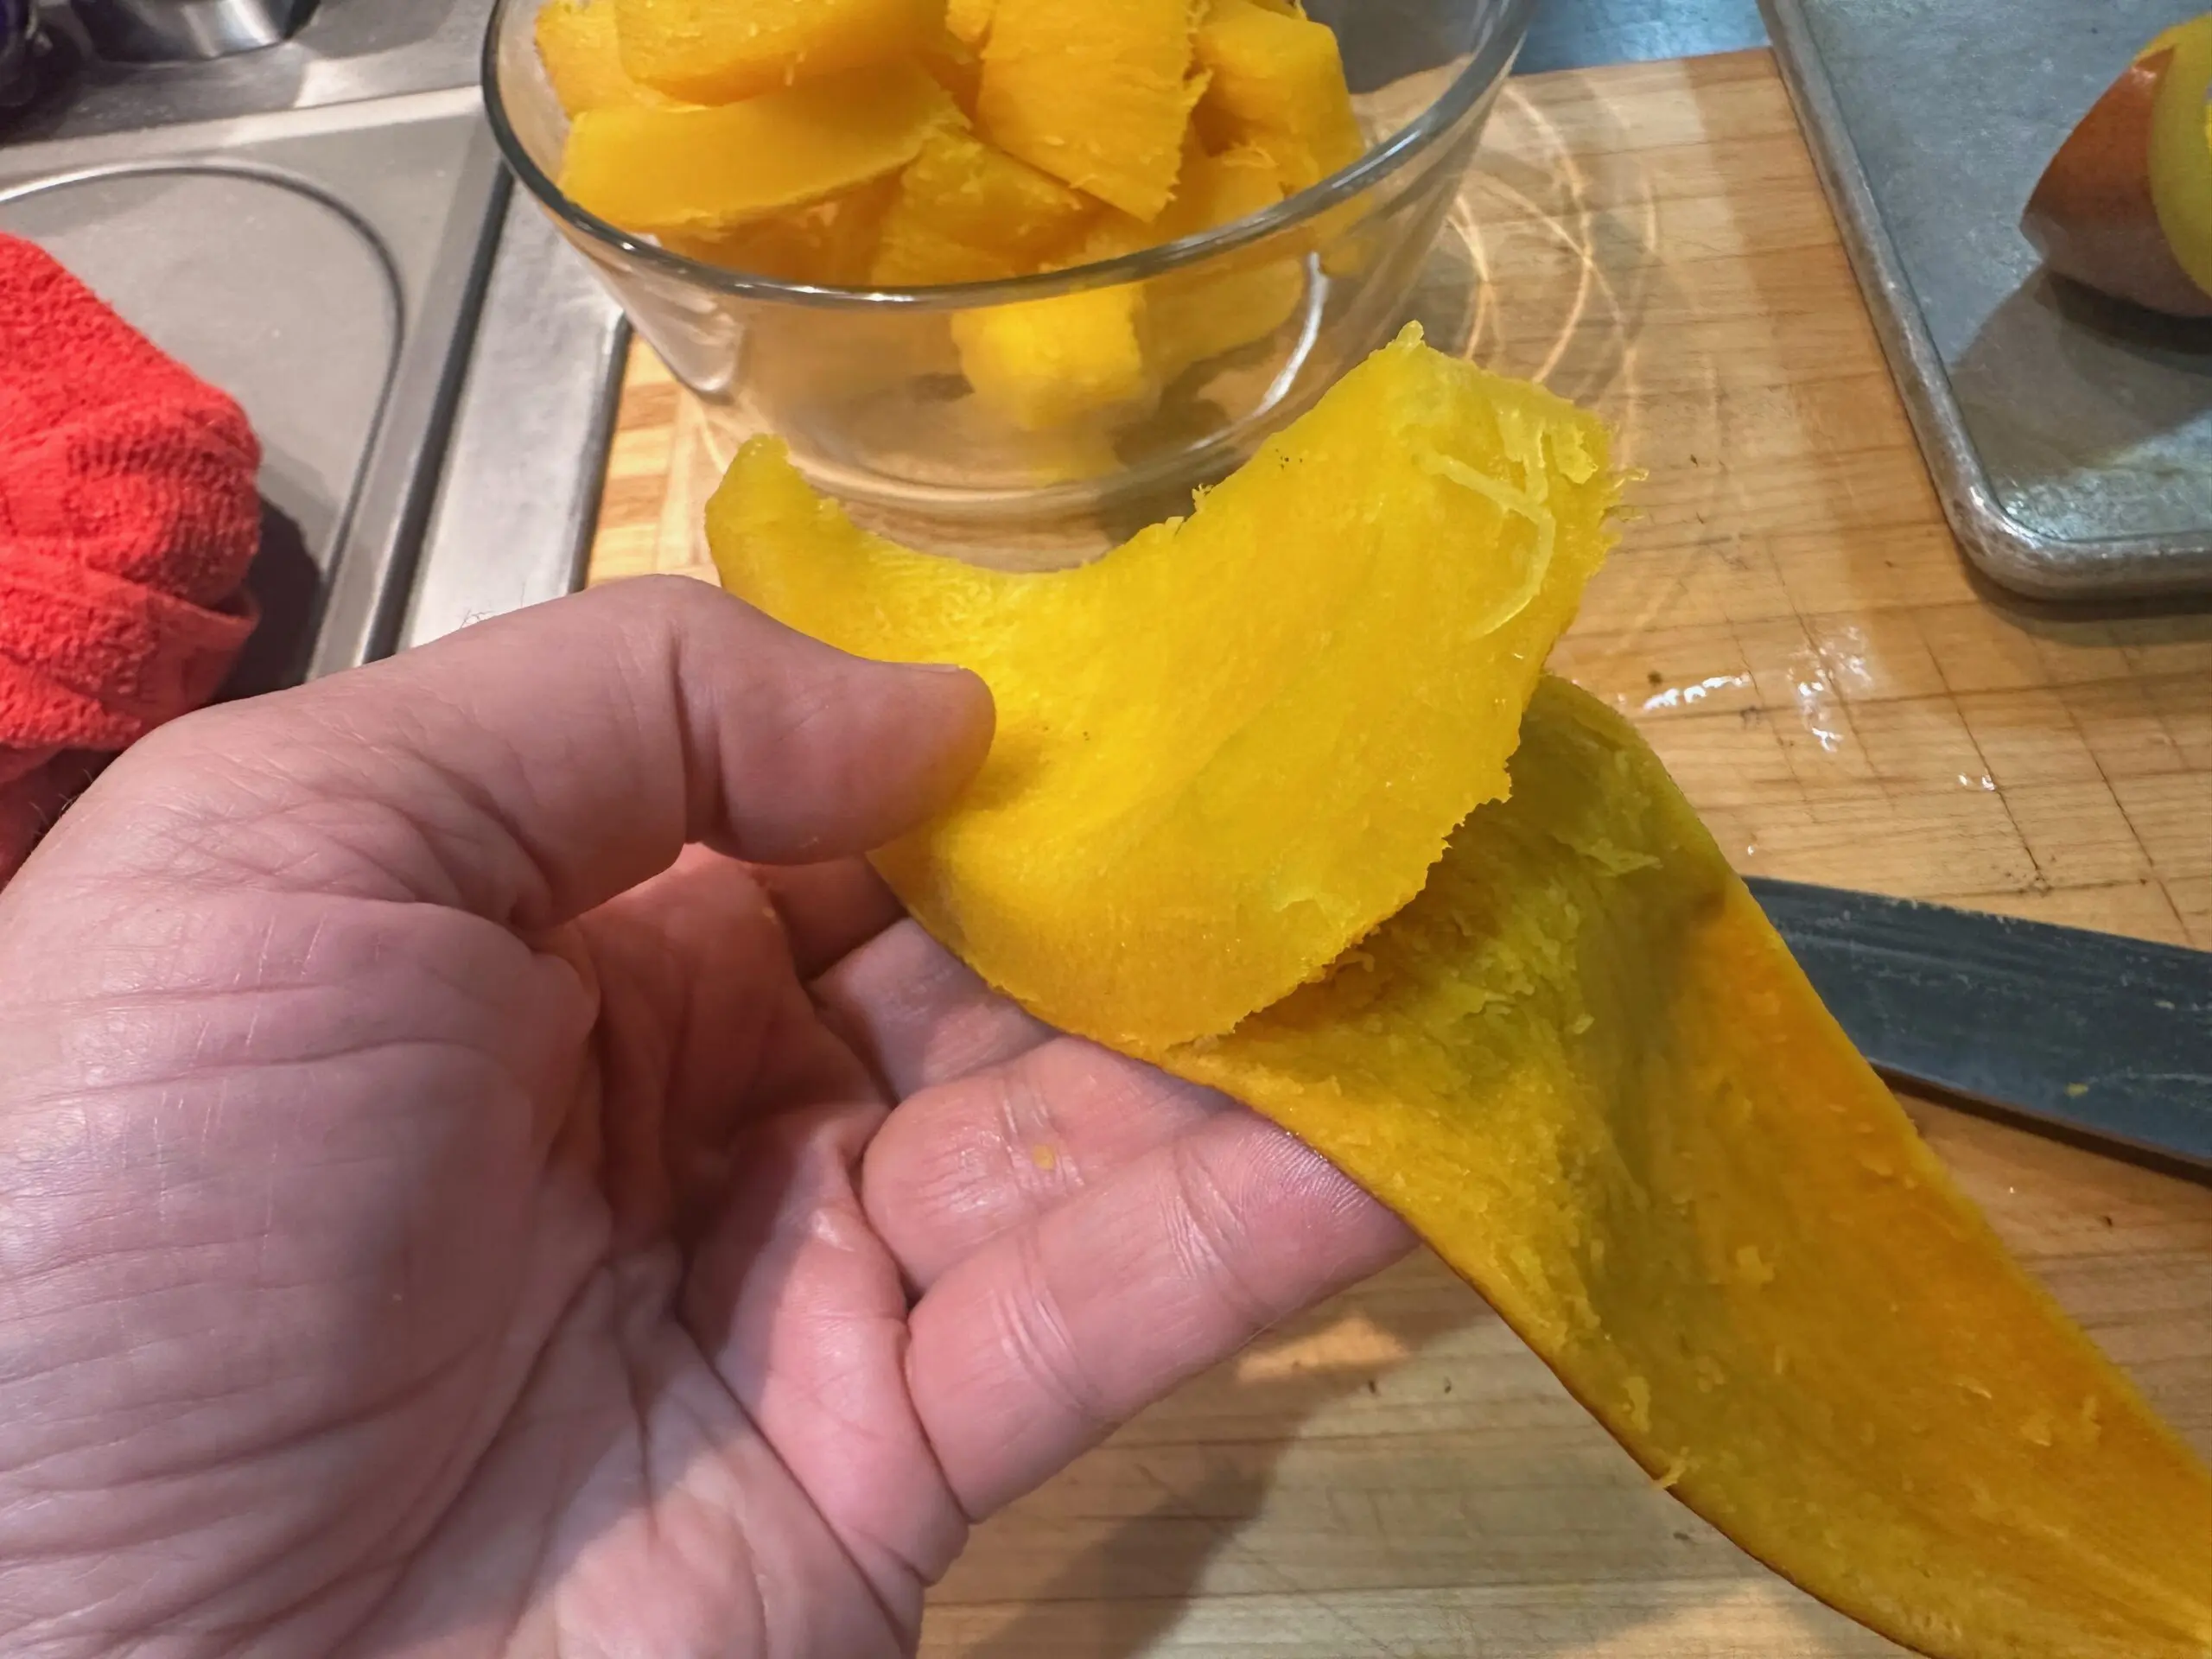
10. Alternately, you can cut each of your halves into 2 or 3 smaller wedges and you can easily peel the outer rind off the pulp just as easily as peeling a banana.
11.Place the pulp in a food processor or a blender, and purée until smooth.
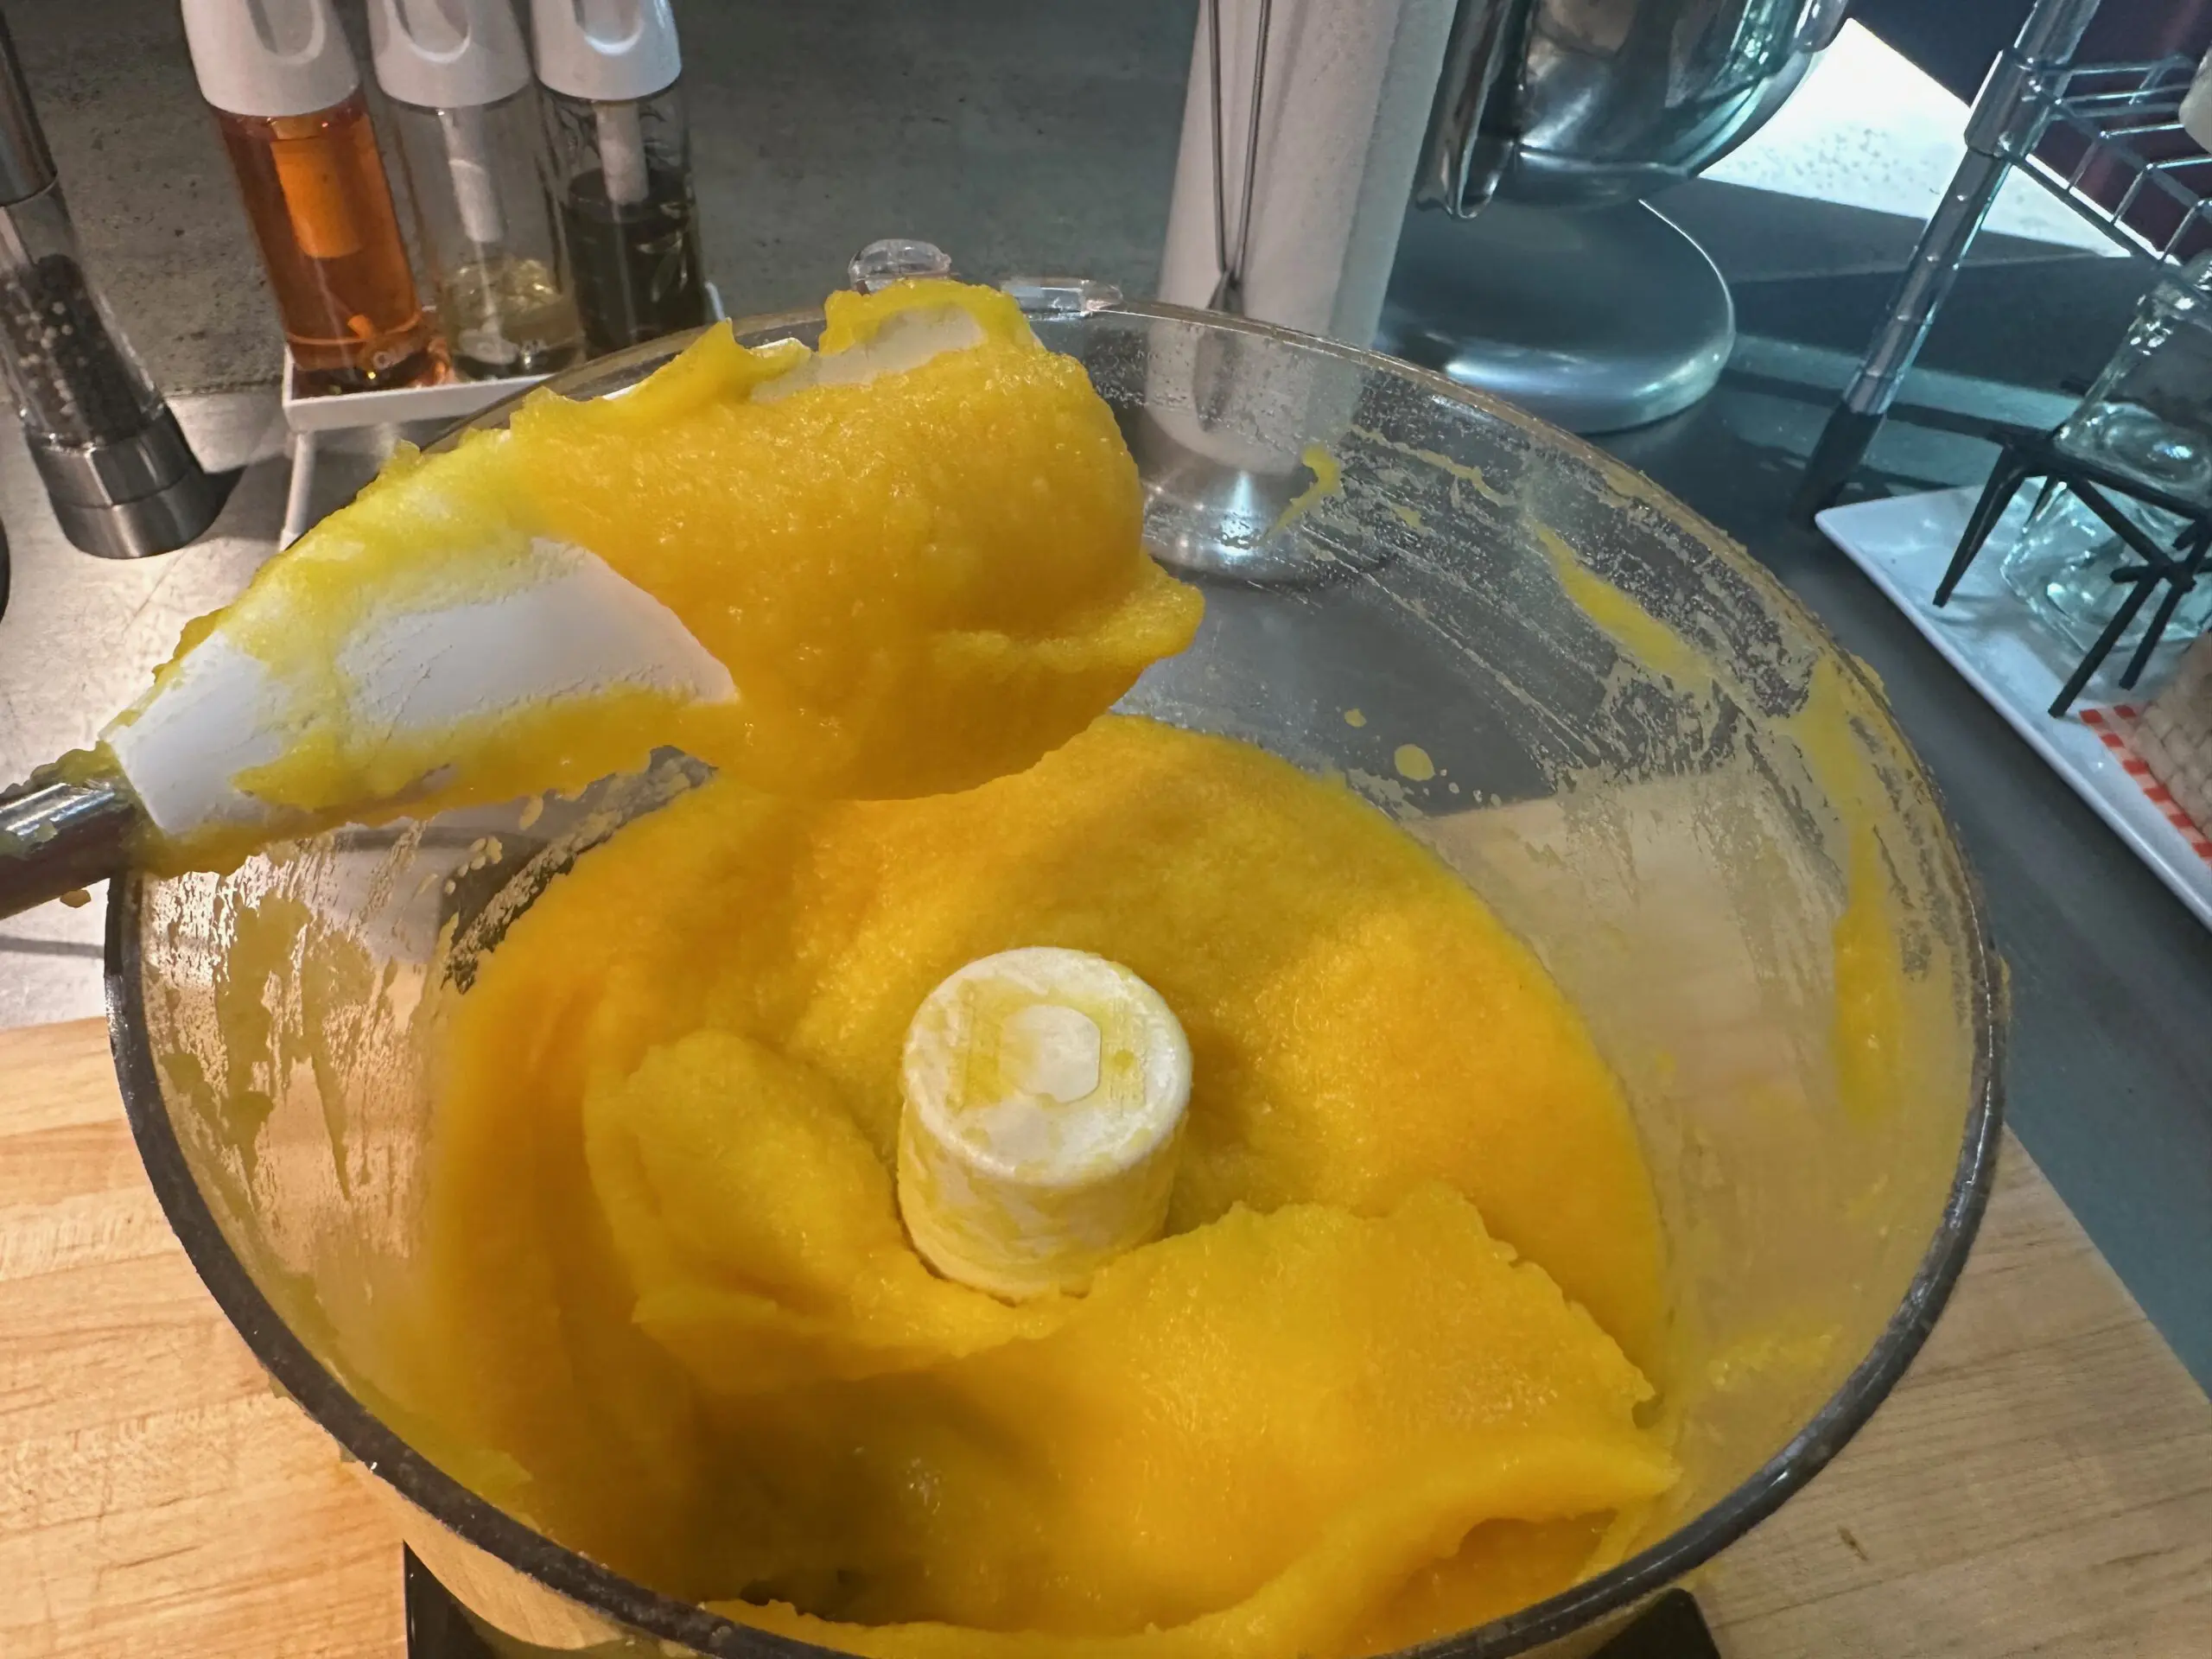
*It isn’t necessary to additionally strain this purée but if you feel it’s necessary, go for it.
Typically a standard size Pie Pumpkin will yield about 3 cups as did this one.
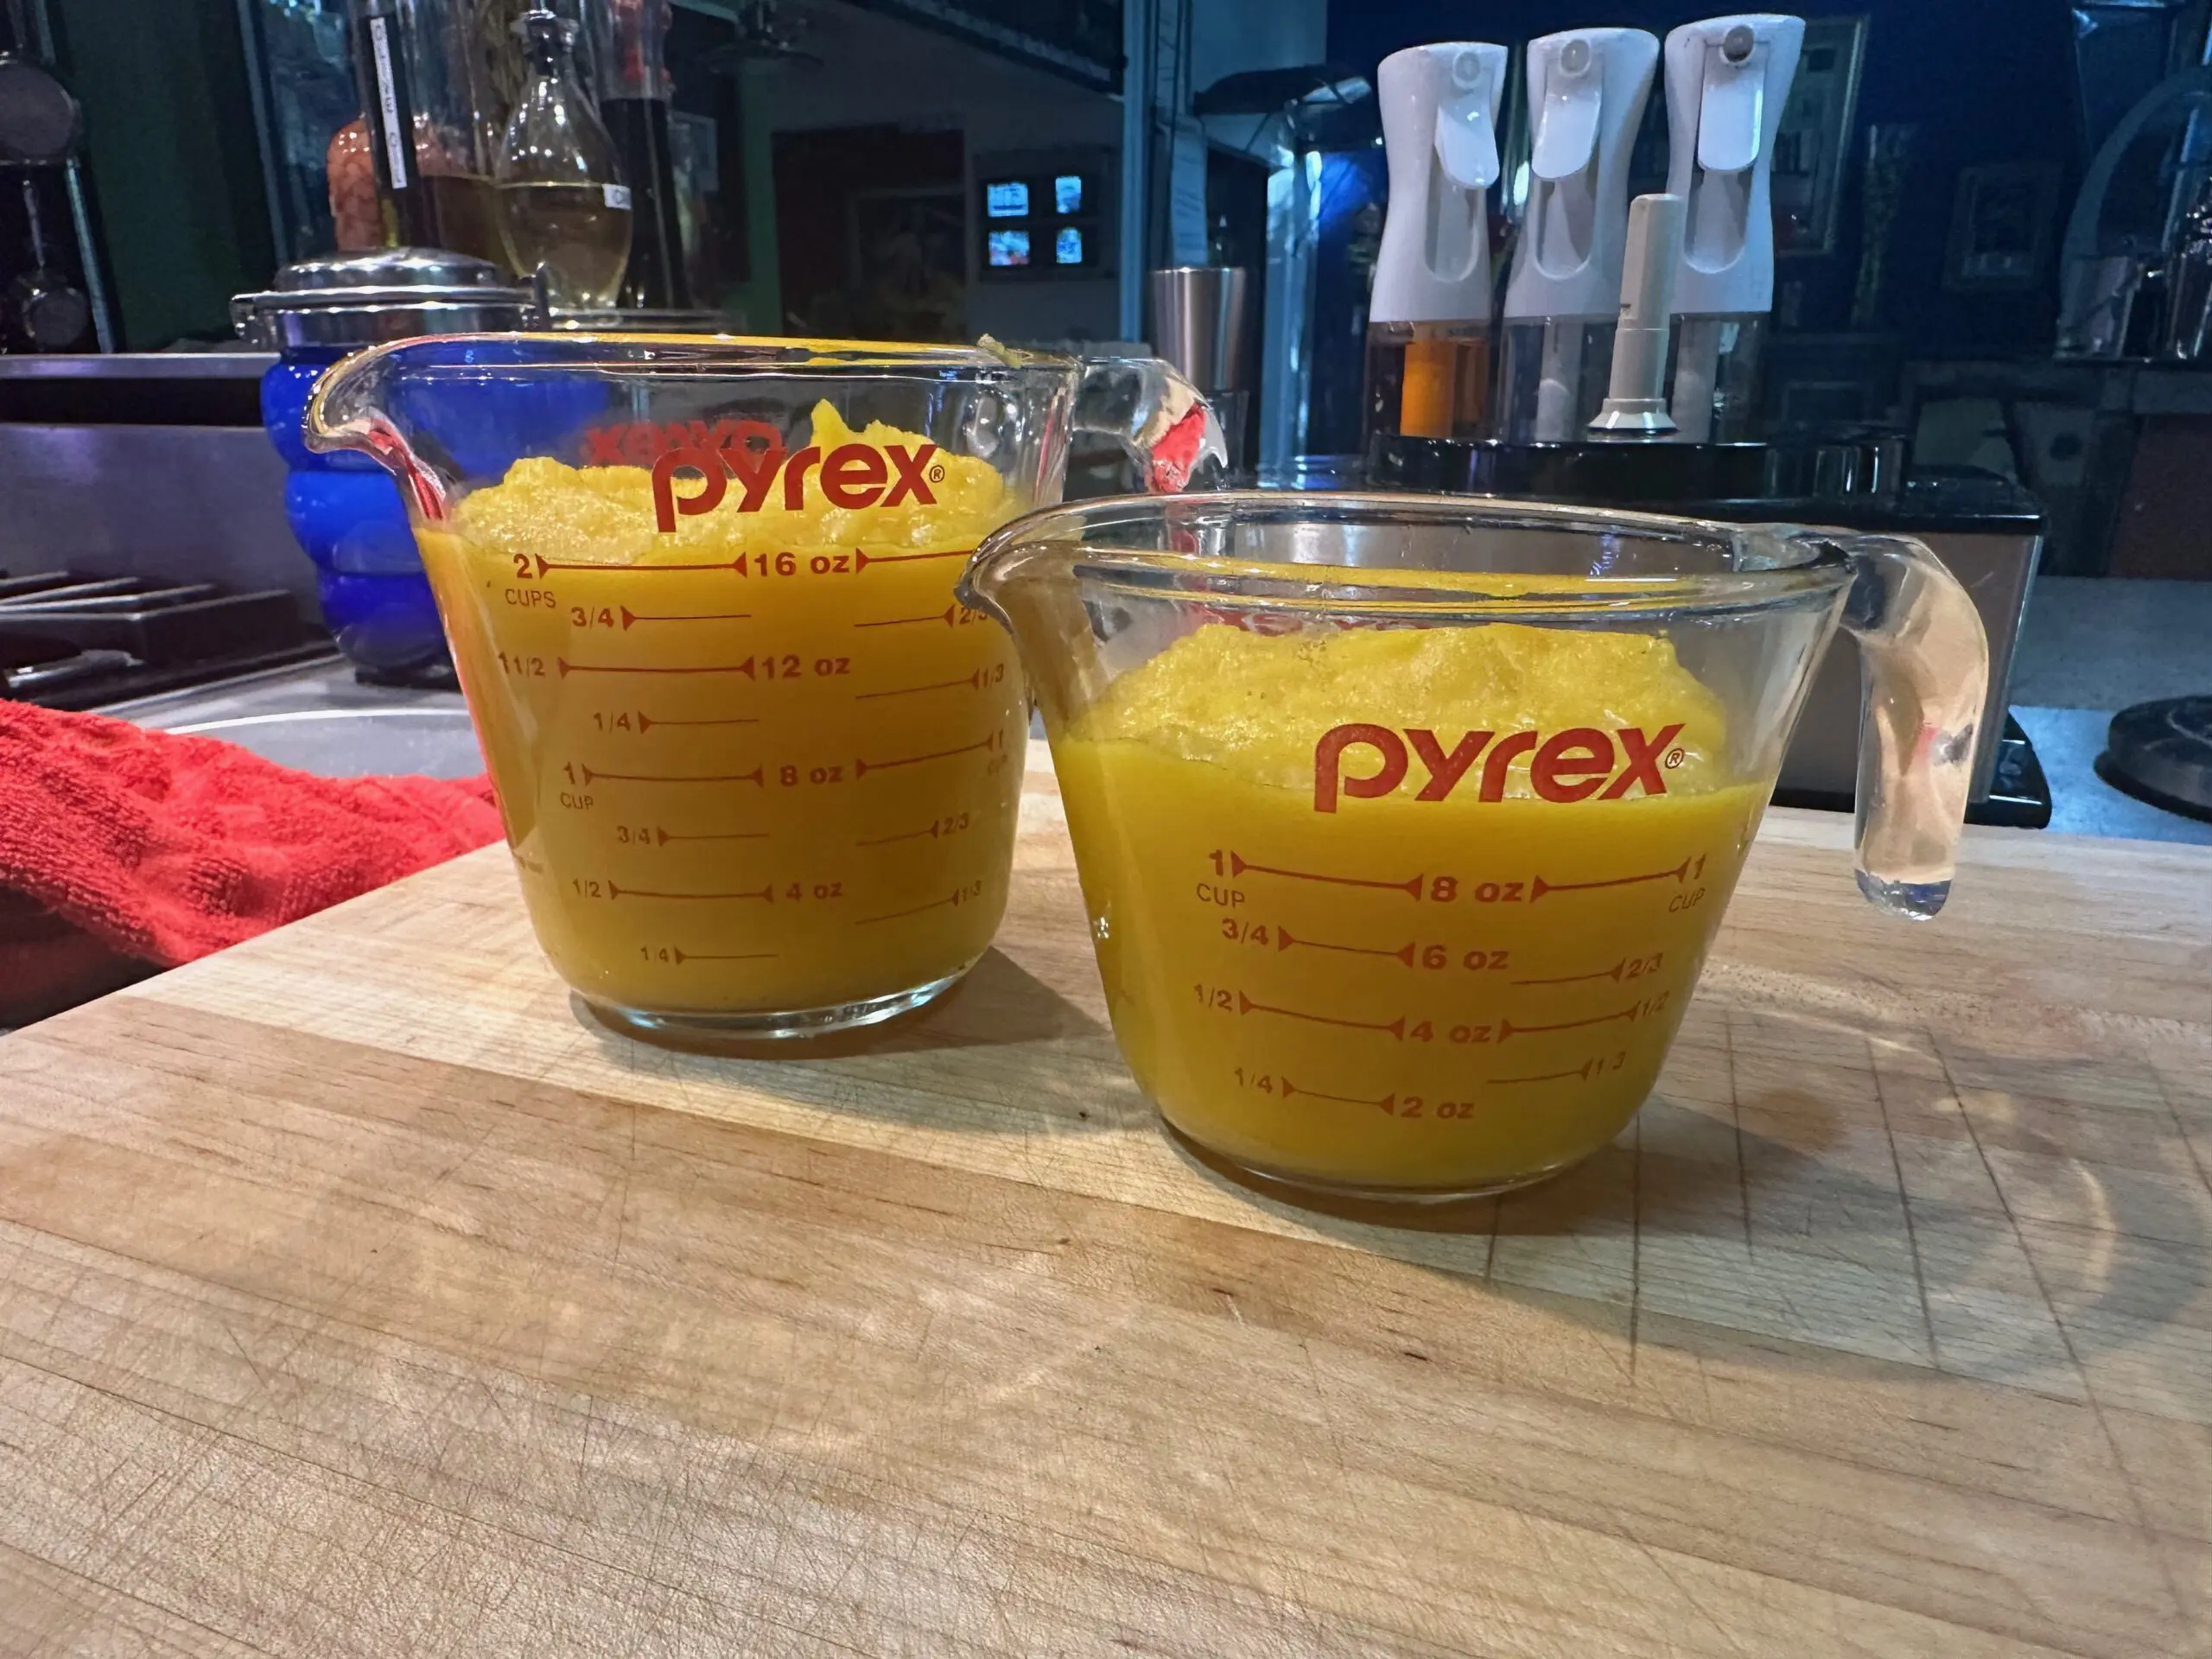
Any extra pumpkin puree can be frozen for future recipes.
A link to The Original Libby’s Pumpkin Pie Recipe is below….
It calls for a 15 oz can of purée.
That’s 2 cups for you….
Measure 2 cups of your puréed pumpkin, follow the recipe from there forwards, and enjoy one of the best pumpkin pies you’ve ever baked!
Libby’s Pumpkin Pie Recipe from Food.Com