A chicken, is a chicken, is a chicken?
Well,…there is “some” truth to that.
While you undoubtedly have heard a lot in the press, about free-range, cage free, organically fed and other “specialty” consumer designations for whole fresh, “rotisserie” chickens, that you can buy in most every grocery store nowadays, in many ways, the most important thing is…, if I buy it, will it be delicious.
Will it be flavorful.
Tender.
And moist.
All three, are a bit dependent on some of those afore mentioned “merchandising” points, but it’s even MORE dependent, on how you actually pre-prepare, roast and then serve that chicken.
Take it from a Chef with 50 years of professional experience.
A chicken isn’t “just” a chicken.
When it comes down to how to roast a chicken, no matter how well it’s “marketed”, or how much you end up spending on it, it all comes down to how you treat it, after the sales receipt and the packaging has been discarded,
…and it sitting naked, on your cutting board.
And it’s here, where your roasted chicken, proverbially, crosses the road, from the good side… to the best side.
Below are 3 ways to get your chicken across that road, and to get more “Cluck for your Buck”.
Way # 1 The GOOD
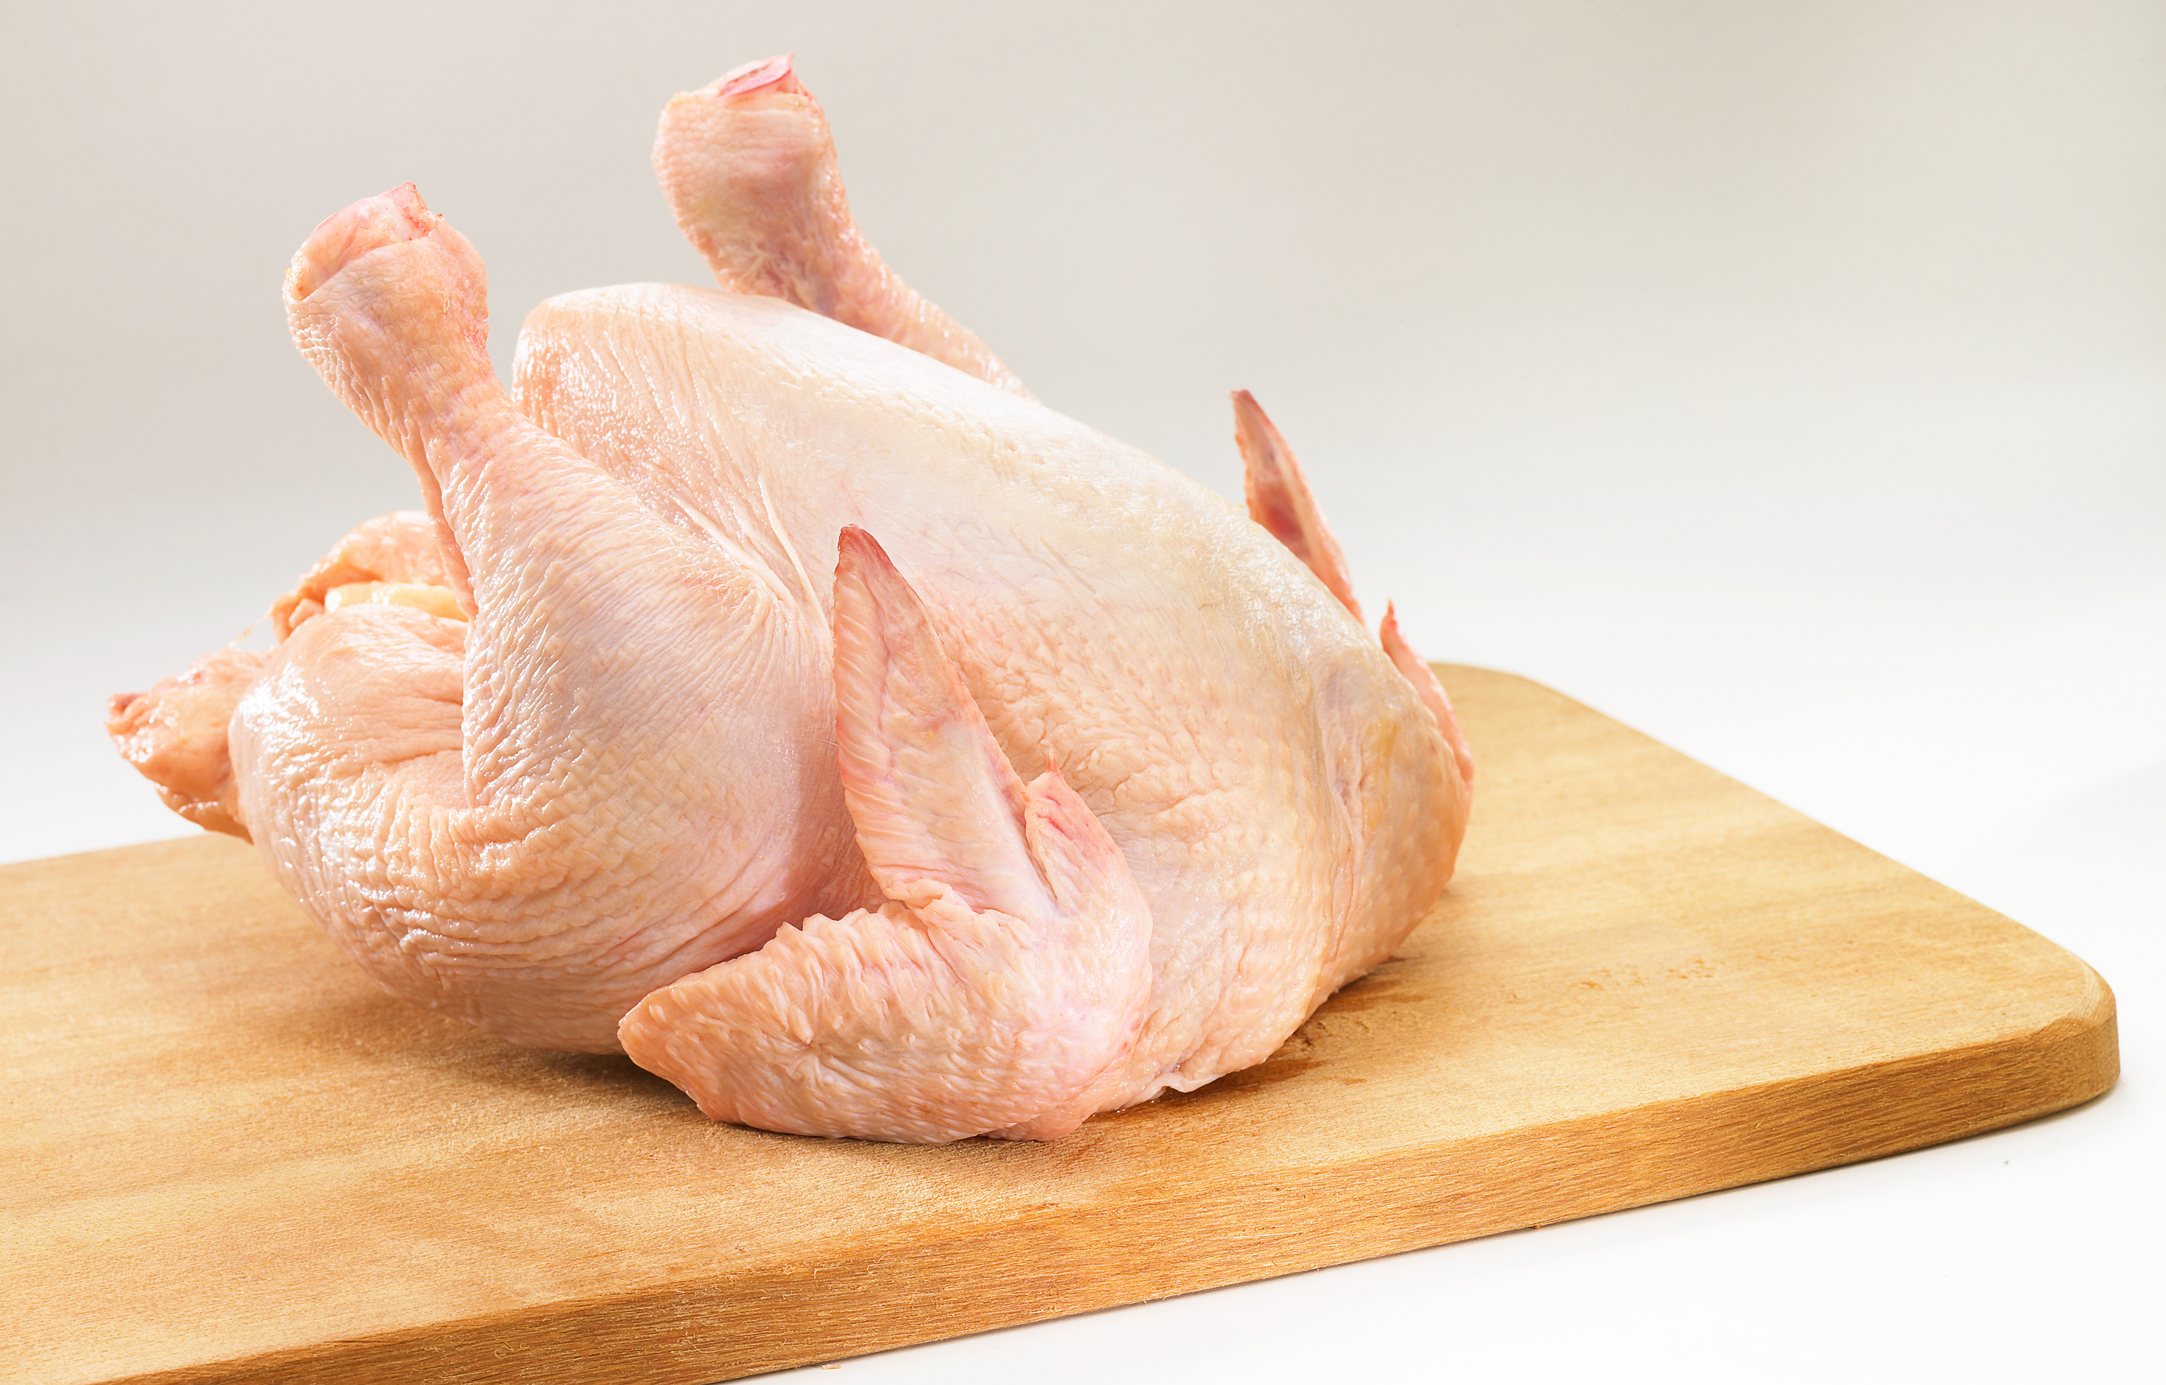
Buy a well-chilled freshly packaged whole rotisserie / roasting chicken, with a weight between 3 and 4 pounds.
Cattleman’s excels at this… our entire meat processing and display locker is 34 F. So, you can be sure, your chicken has been well chilled throughout its entire journey. That’s an excellent start.
The skin should cover most all, if not all of the top breast lobes and be a yellow/ golden color, with no excess juices noticed beneath.
When you bring your bird home, keep it well chilled until you intend to roast it.
Then, when that moment arrives… we recommend this.
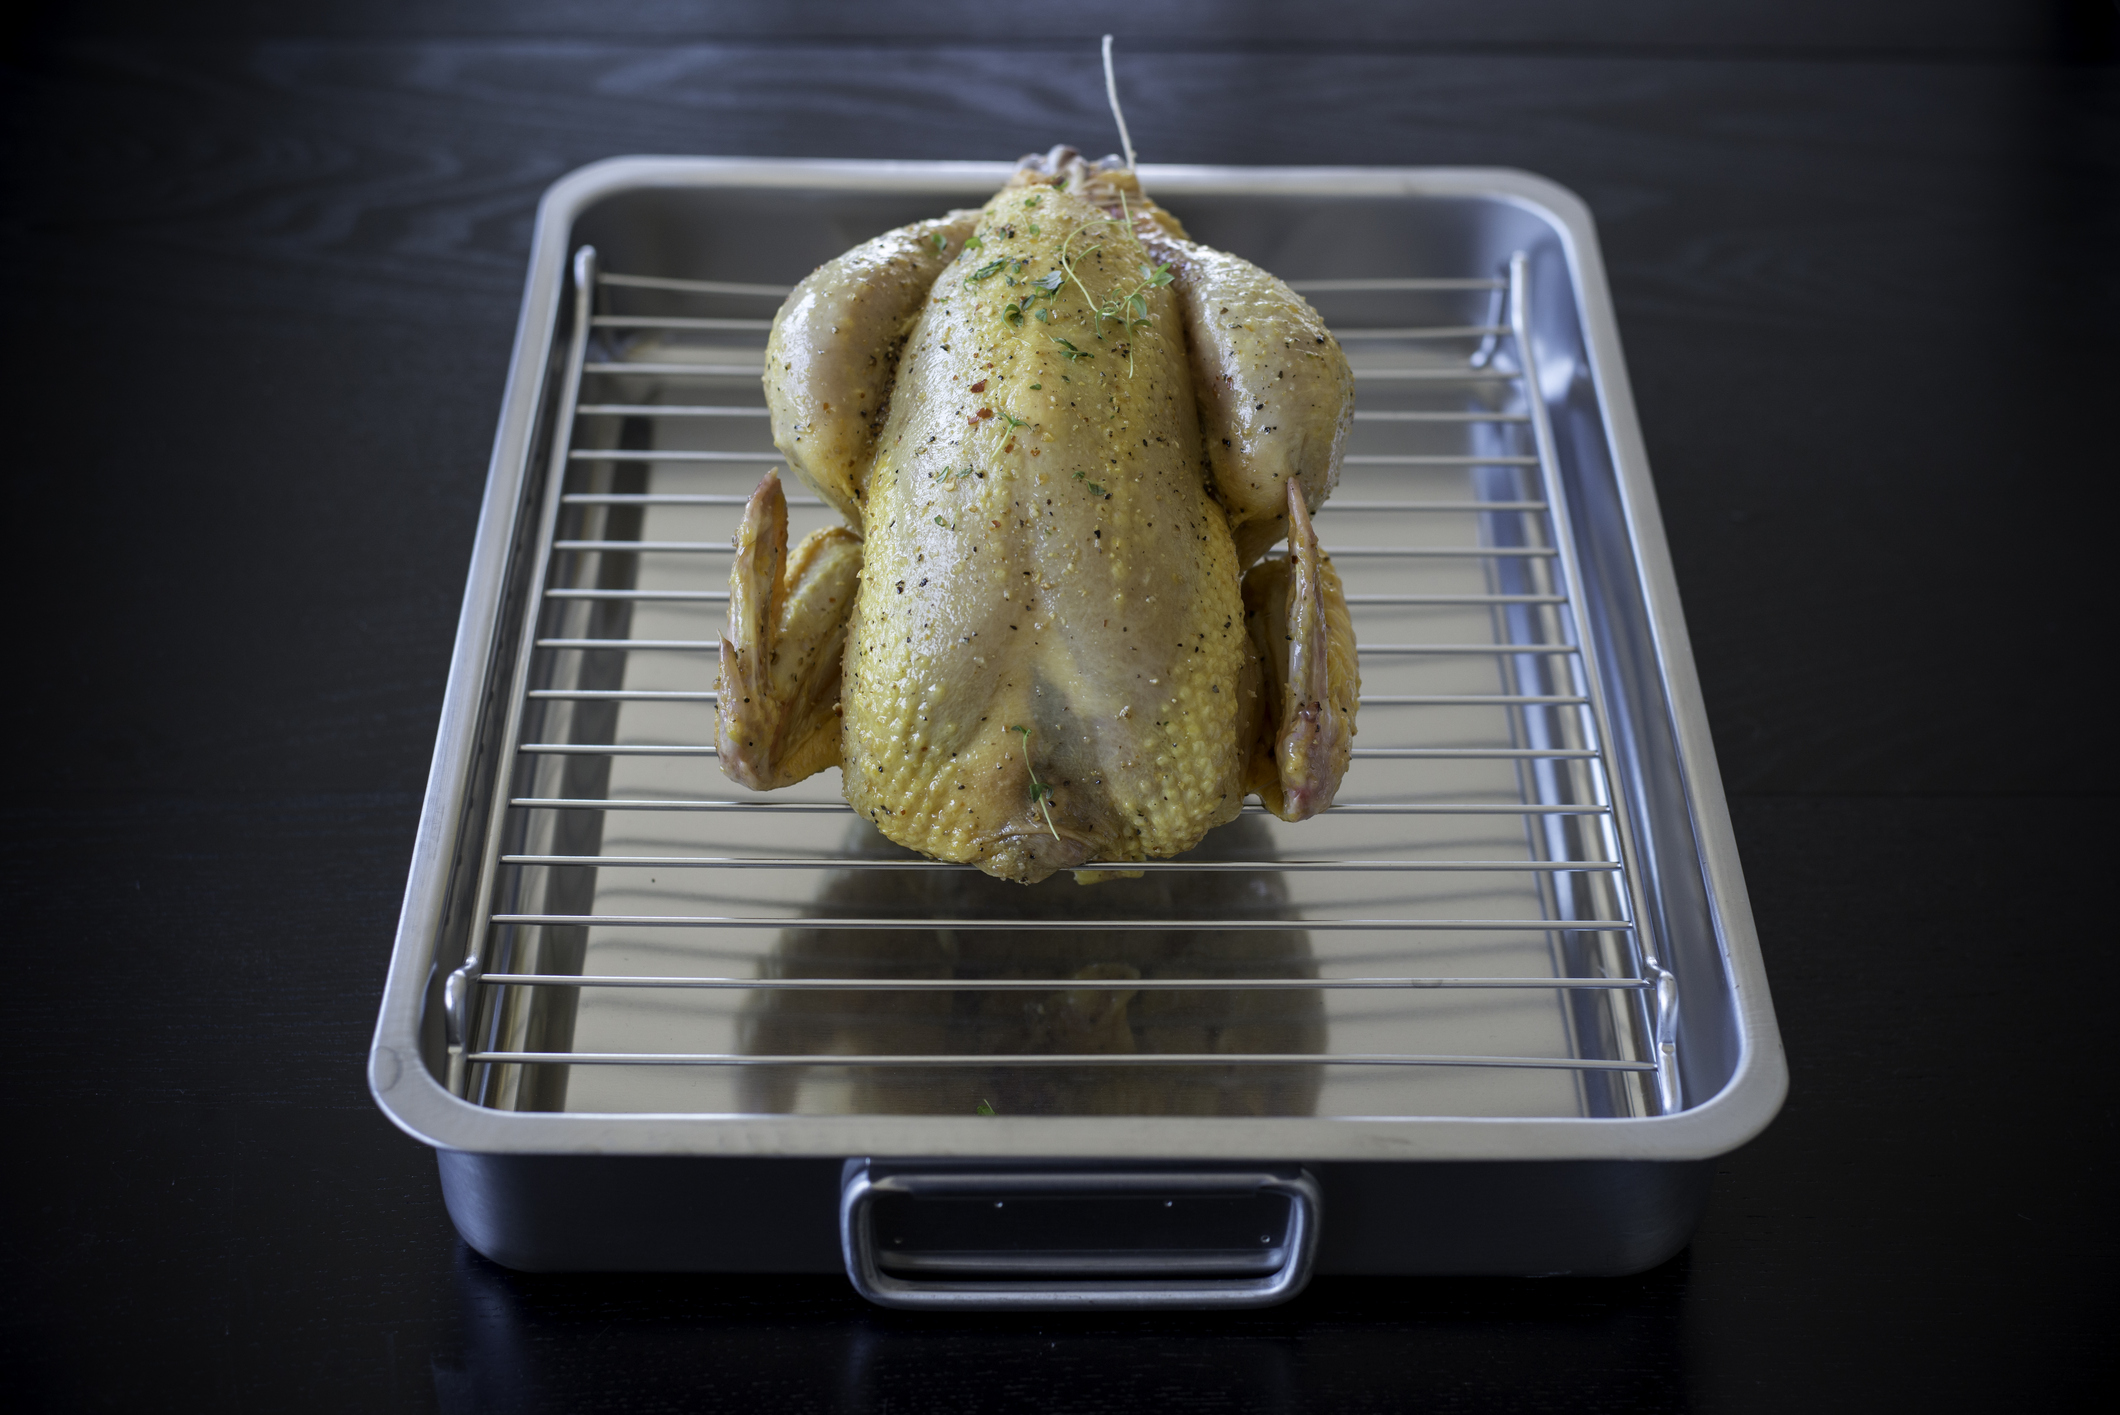
Have a roasting pan ready with a rack or grate, slightly above it, which allows you to roast your chicken with full hot air circulation, and not, with its undercarriage having to rest on the bottom of a solid metal surface. Partly roasting, partly simmering in juices.
Once you remove your chicken from its packaging, rinse it inside and out with cold water and pat it dry with paper towels.
Spray it, or rub it with vegetable oil, melted butter or olive oil and apply whatever seasoning you prefer.
Purists will only sprinkle it liberally with kosher or sea salt and freshly ground / cracked black pepper but there are too many other wonderful herbs and spices that you can apply at this point. It literally comes down to your own taste.
Roast at 350 F to 375 F. Rotating the positioning of your bird / pan, once every 30 minutes. Typically, a 3 lb. chicken will take approximately 1 1/2 hours to reach an internal temperature of 165 F when measured by a thermometer placed in the pocket between its breast and thigh.

NOTE: If you have a convection setting on your oven, 350 F is a better setting, if not, 375 F is perfectly fine.
To make this GOOD method a bit on the crispier skin side, omit the initial oiling but just seasoning your bird with salt and some seasoning, and leave it uncovered in your fridge, to “air-dry”, for a few hours, or even better, overnight.
Before roasting, then you can lightly spritz it with oil.
Way # 2 The BETTER
Everything with the “better” way, begins with all the things you should do in Way #1 with 1 very important change, which is guaranteed to give you a moister, juicier chicken.
Especially the breast.
There are 2 options here, both achieve the same results.
Check the internal temperature of your roasting chicken at about 1 hour to 1 hour and 15 minutes after placing it into the oven.
When the temperature reaches about 140 F to 150 F, turn the chicken upside down (breast side down), and return it into the oven to finish roasting to the 165 F mark.
When it is fully cooked, remove your chicken from the oven and let it rest at LEAST 10 to 15 minutes before turning it breast side up, and carving it.

This resting period allows the juices throughout the chicken to reabsorb into the meat. And that’s important.
Way # 3 The BEST
As you may have guessed, Way # 3 is an “add on” to having already committed to following the first and second ways to improve the quality of your roasted chicken.
Way # 3, is brining.
Brining in a “bath” of water, salt and sugar (with many optional variations of added herbs, spices or a substitution of other liquids, if you choose), allows your bird to achieve maximum hydration before roasting, while also adding additional flavors if you choose.
It can be as simple as stirring these 3 ingredients together:
2 quarts of room temperature water
½ cup of kosher salt
1 tablespoon of sugar (White or Light Brown)
Immerse your chicken in this solution, cover, and refrigerate it for 12 to 24 hours before roasting.
When you’re ready to roast, remove the chicken from the brine and pat it dry. It’s NOT recommended that you rinse it after brining. (Besides, you already would have done that in Way #1.
Once you begin roasting, follow all the methods in Way #2 (turning upside down etc.) and you will have roasted the best bird on the block!
If you’d like to know more about brining, we have a Blog you might enjoy, and it’s right HERE.